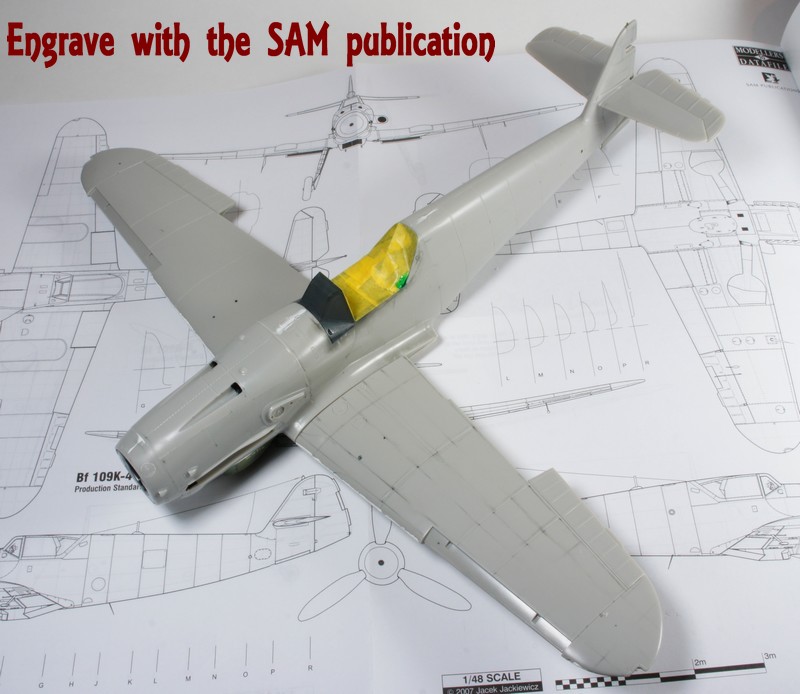
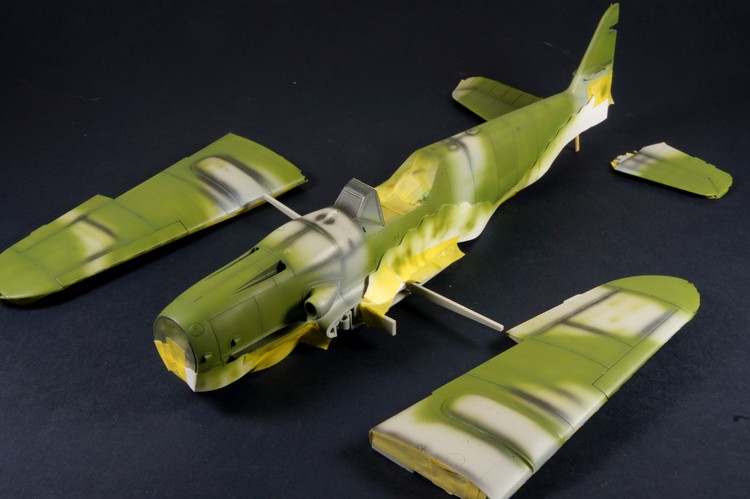
I present you my new modelling, an BF 109 K-4.
For building this kit, I used many things:
- EaglesParts resin for the cockpit
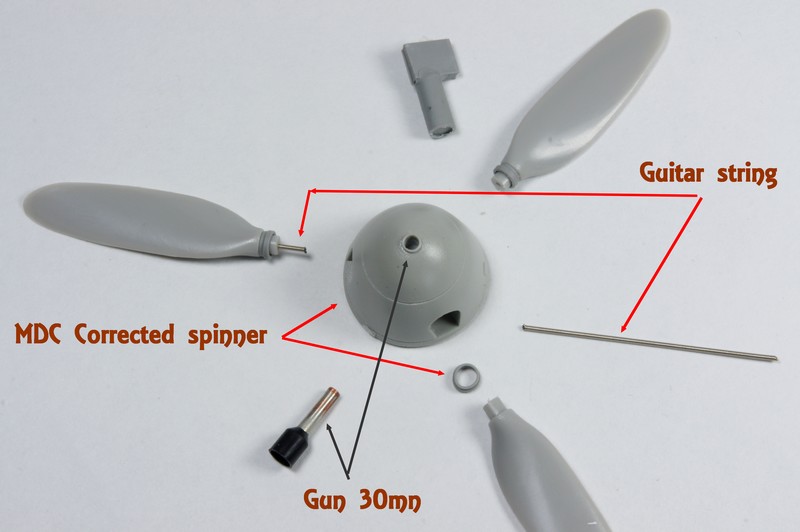
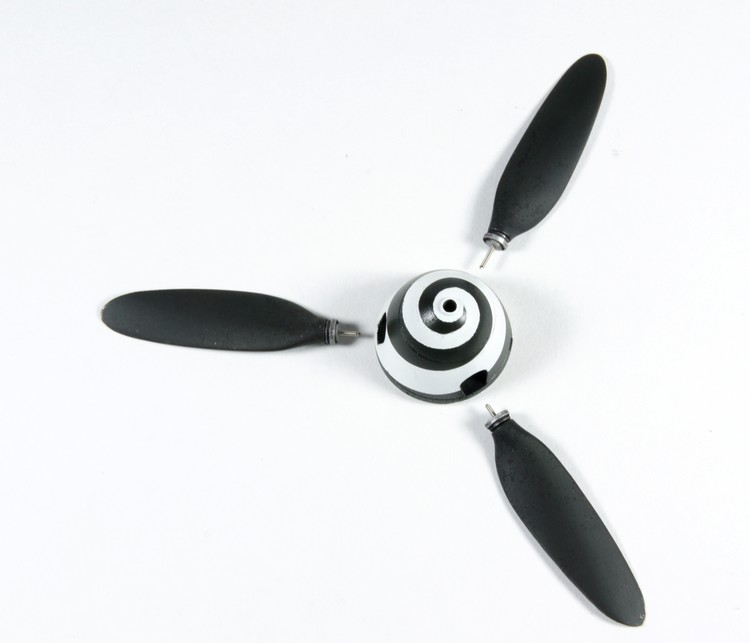
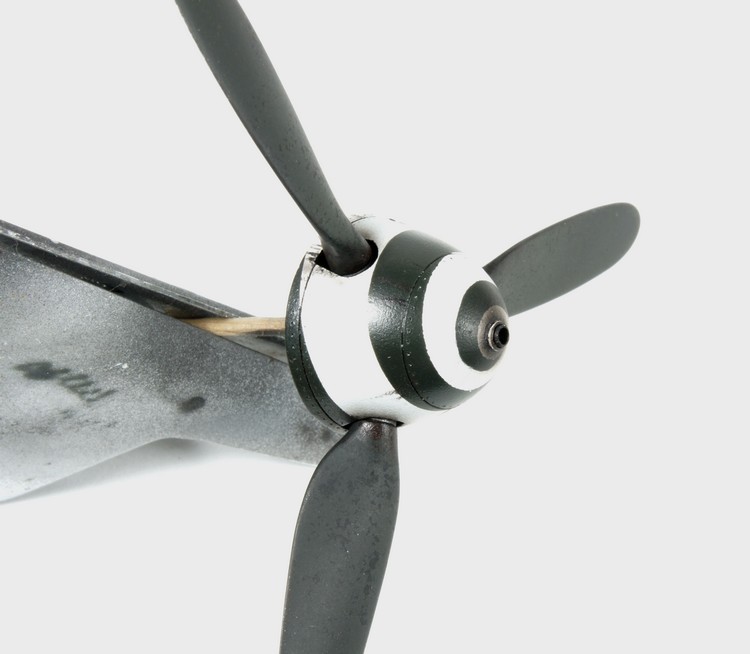
- MDC Spinner and exhausts
- Air Master series for the MG-131
- Stormo! decals Part III
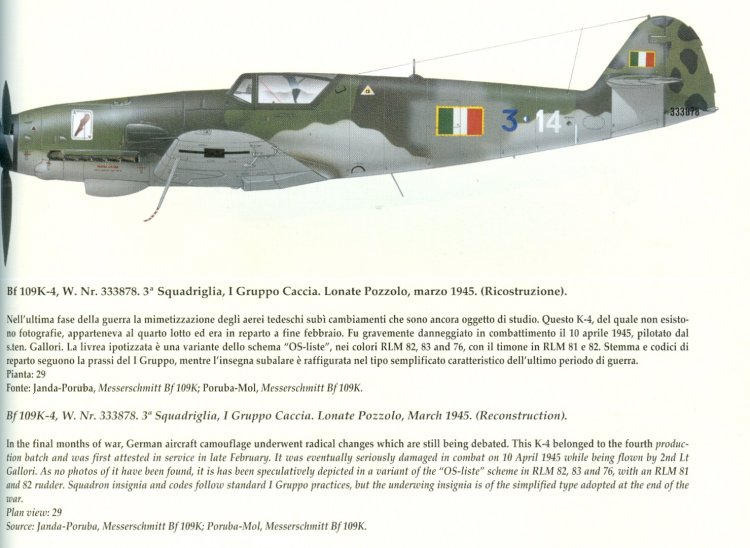
I decided to represent the 109 flown by the LT Gallori.
I started by the cockpit, some pics:
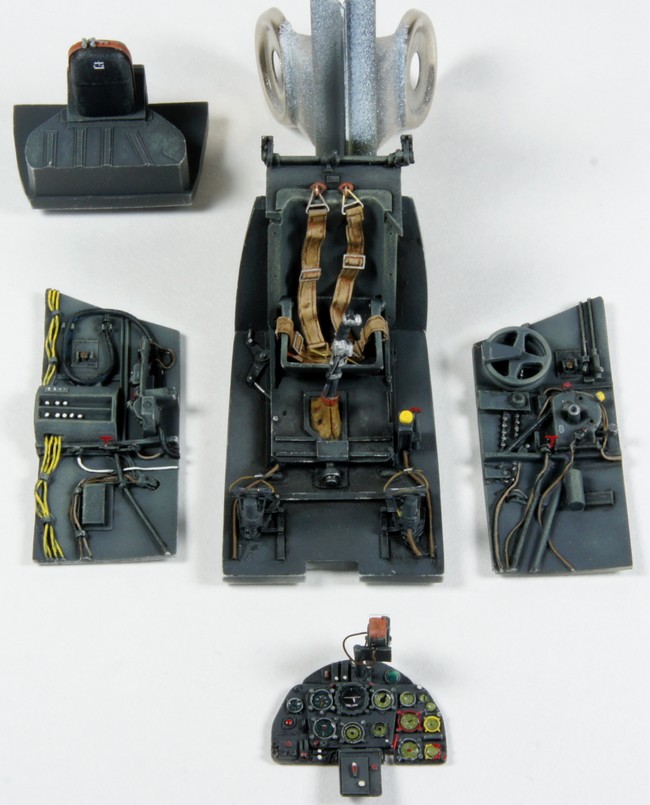
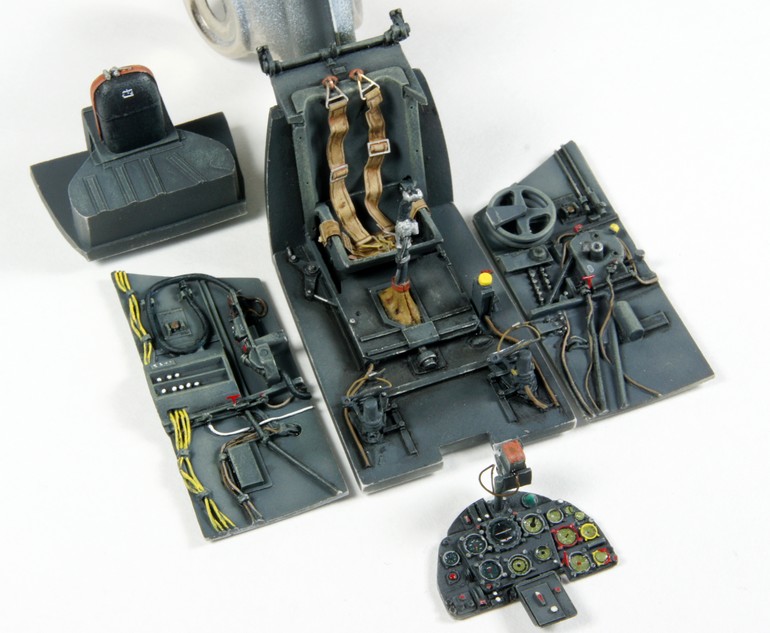
The internal parts of the interior are painted in Tamiya XF-63
The other details are then painted using several shade of acrylic Prince August.
Regards
michel