Page 1 of 2
"Io la notte piu non posso dormire" FIAT CR-42 CN
Posted: Mon Jan 09, 2012 10:37 am
by Will
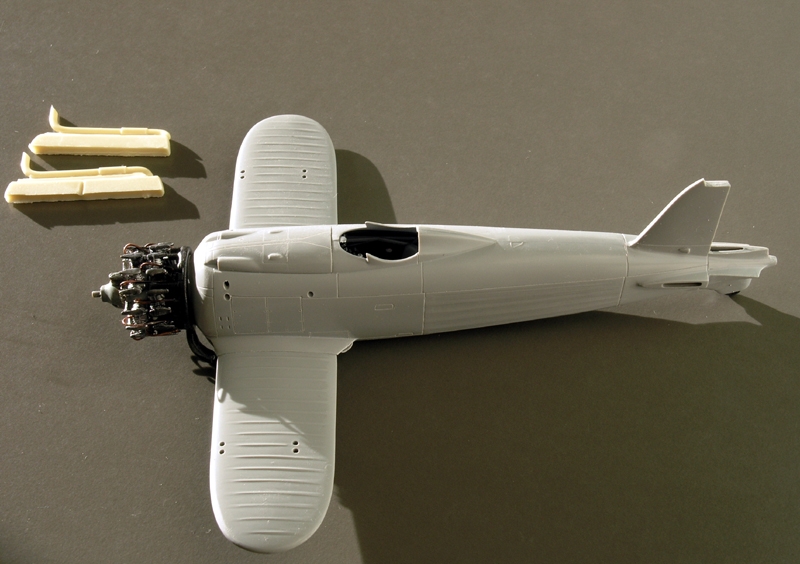
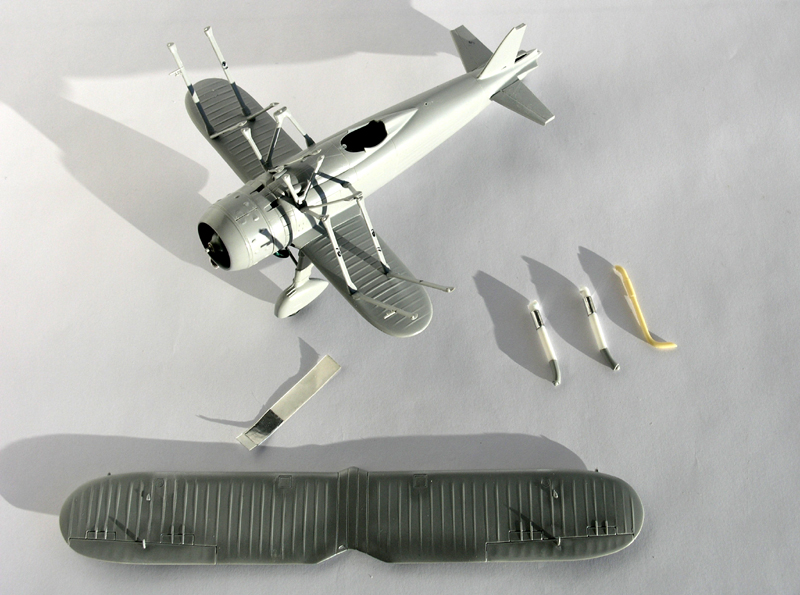
With the ITALERI FIAT CR 42 LW, the pipe from the Classic Airframes box and the excellent STORMO ITALIAN WWII ACES - PART II décals, i hope make a model of Tenente Luigi Torchio CR 42's "Io la notte piu non posso dormire"
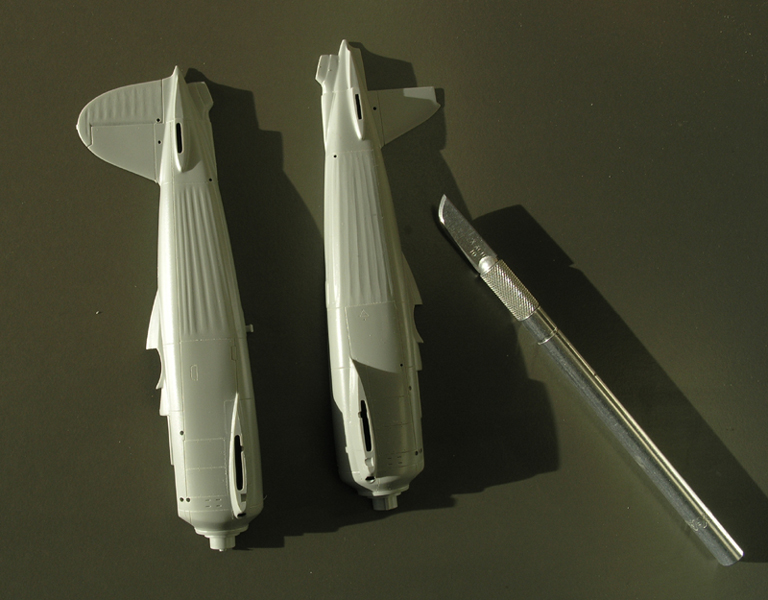
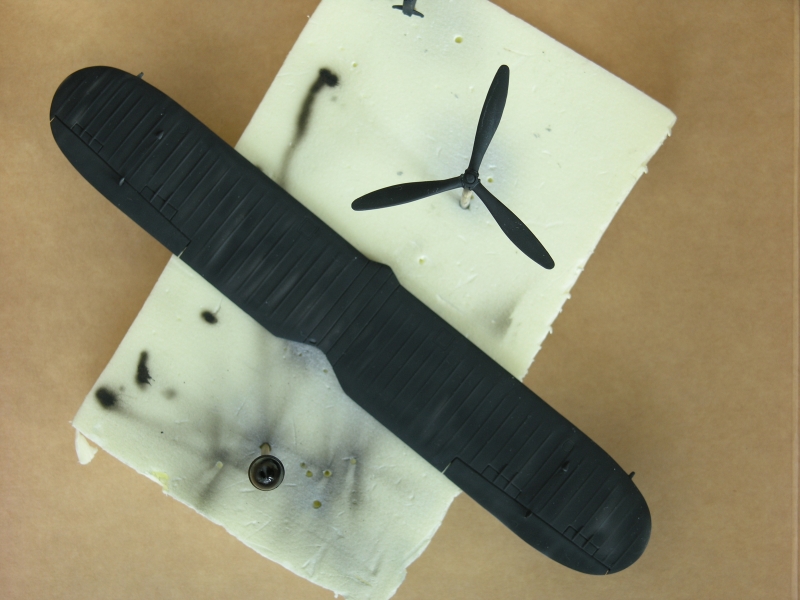
First X-Acto blade n°10 to thin down the too pronounced fabric covered fuselage on this otherwise very nice model, on left before, on right after
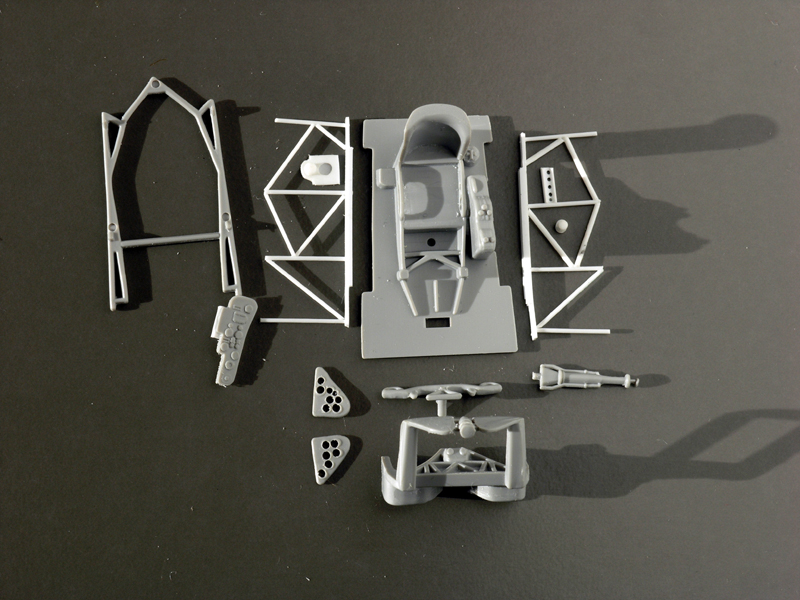
Second the cockpit with some scratch building
Posted: Tue Jan 10, 2012 10:31 am
by Editor
Great work Wil, I look forward to the rest of your build.
Posted: Tue Jan 10, 2012 3:23 pm
by Chris Busbridge
really like the way you've tackled the fabric effect. thats just how I did it on mine. laborious, but definitely worth the effort. I've been told that the black camouflage for the night fighter scheme was some type of powder and had a very matt finish.
Posted: Mon Jan 23, 2012 11:56 am
by Will
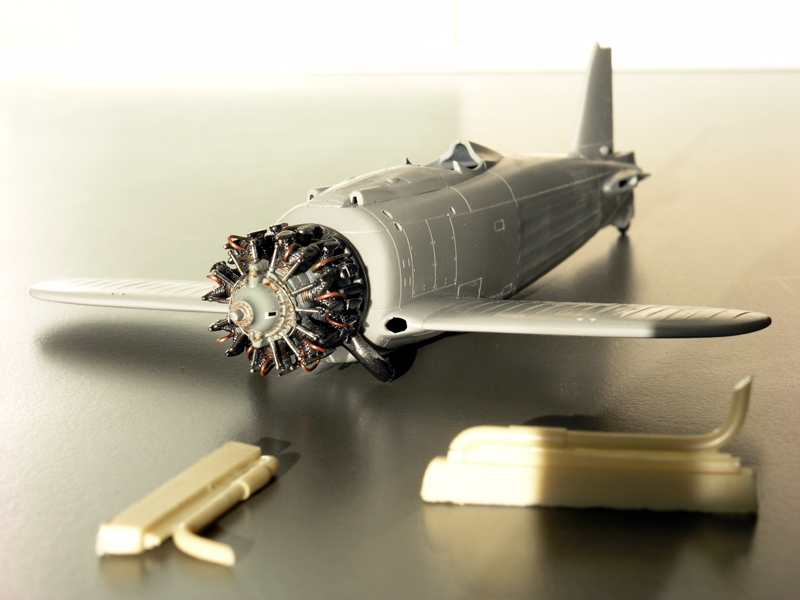
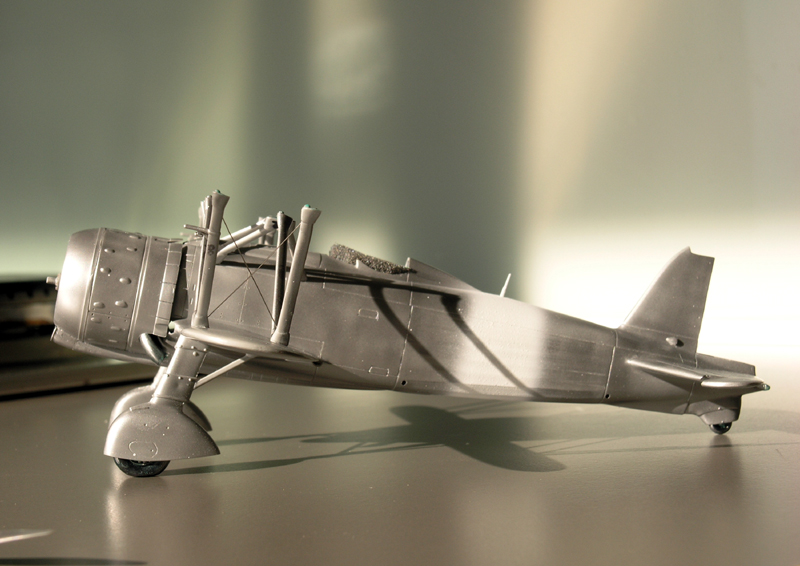
The work of grinding and thinning of wings, fuselage and control surfaces is not to sexy enough to be photographed.
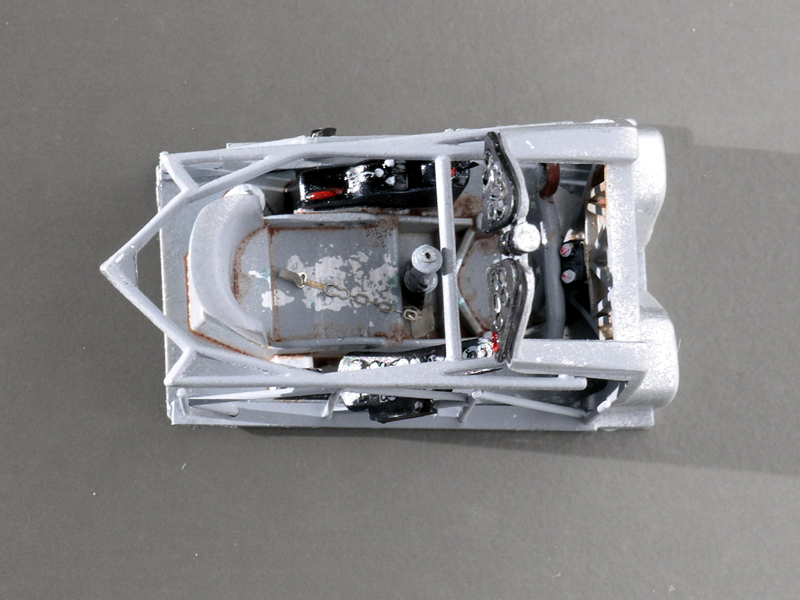
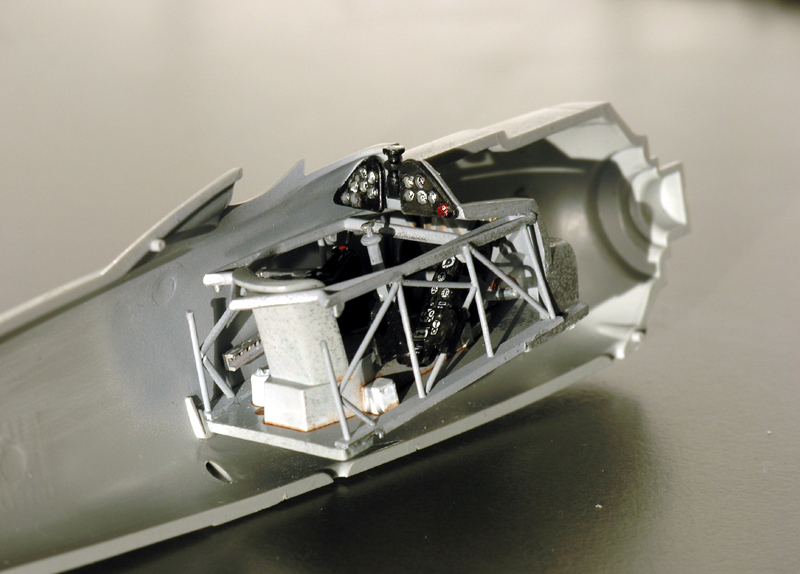
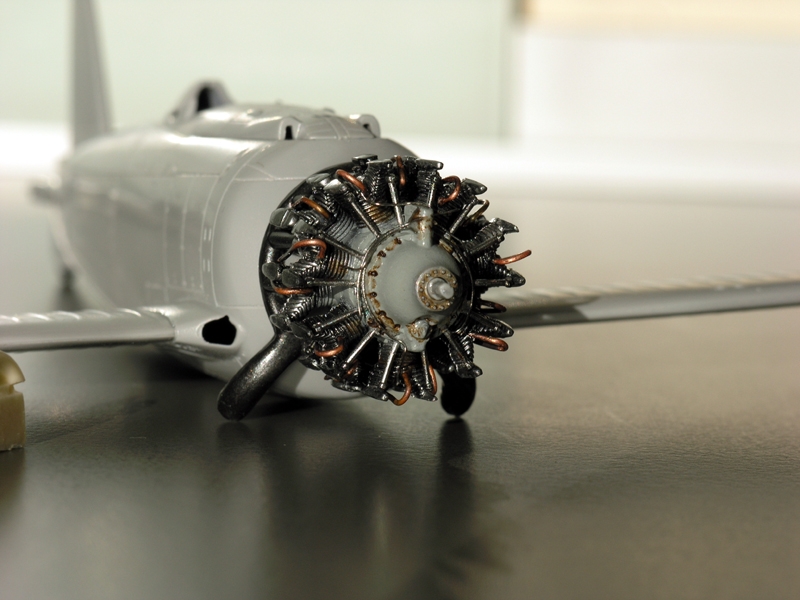
So I present the work on the engine with oils injection and spark plug wire.
Enjoy

Posted: Tue Jan 24, 2012 5:55 am
by GAJouette
Wil,
Awsome work my friend.I'm looking forward to seeing what's next.
Highest Regards,
Gregory Jouette
Posted: Thu Jan 26, 2012 5:41 am
by Will
Thank you Gregory,
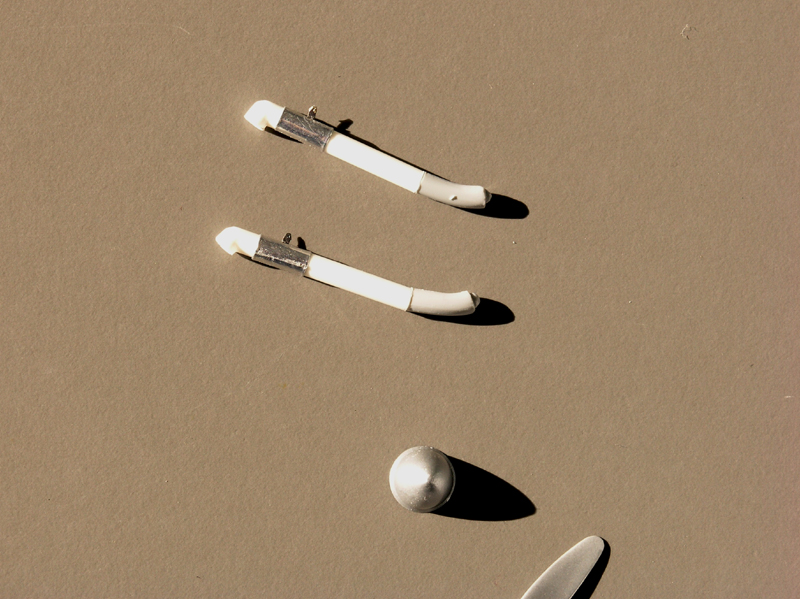
Next phase adapt and improve the resin exhausts to Italeri's kit.
Continue to collect the documentation for the "black" coating.
From what I have on hand at least four shades from the hood and metallic parts, the propeller spinner, propeller and fabric-covered parts.

Posted: Thu Jan 26, 2012 4:38 pm
by Editor
Excellent detail Wil!
Posted: Thu Feb 23, 2012 1:36 pm
by Will
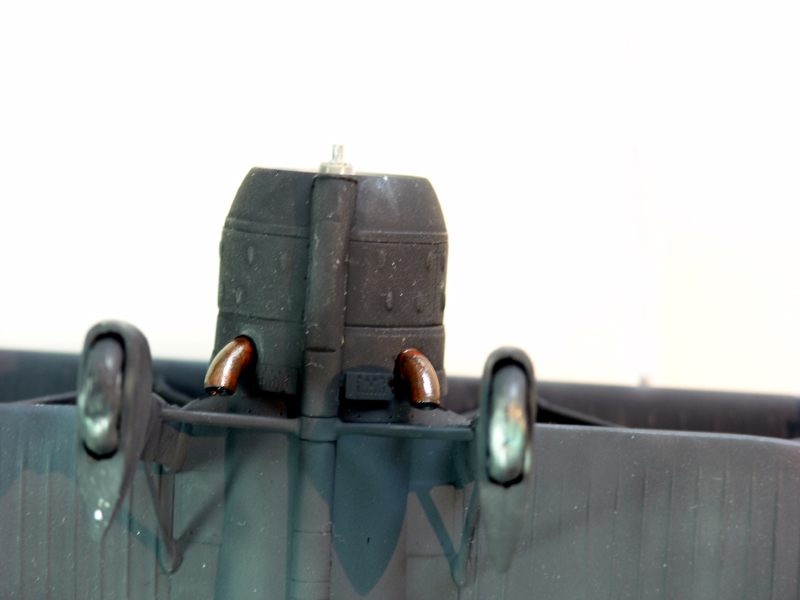
The resin exhaust are too thin for the Italeri exhaust, I cut the exhaust of the LW model and past some Evergreen tubular profile, time and sanding ...
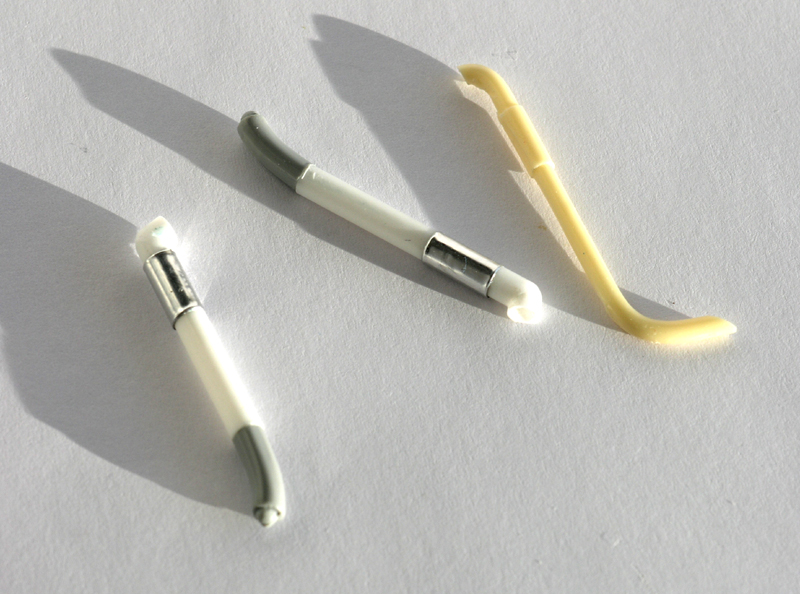
The thickness is made with aluminum foil tape
It is ready for the aluminium undercoat after sanding and Micromesh finishing
Posted: Tue Mar 06, 2012 1:44 pm
by Will
Silver undercoat and white strip
And a little photo etched piece fot the fixation of exhaust before dark painting
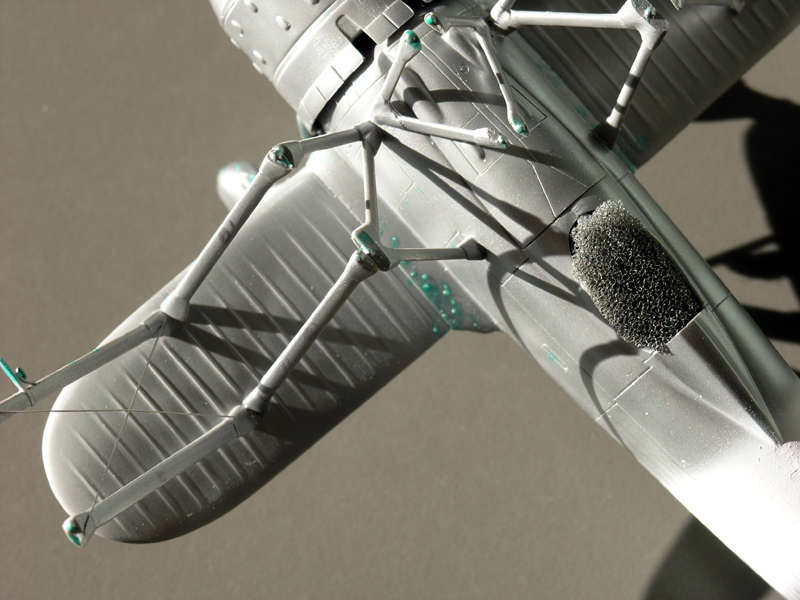
Preparation for used parts
Posted: Mon Mar 12, 2012 12:18 pm
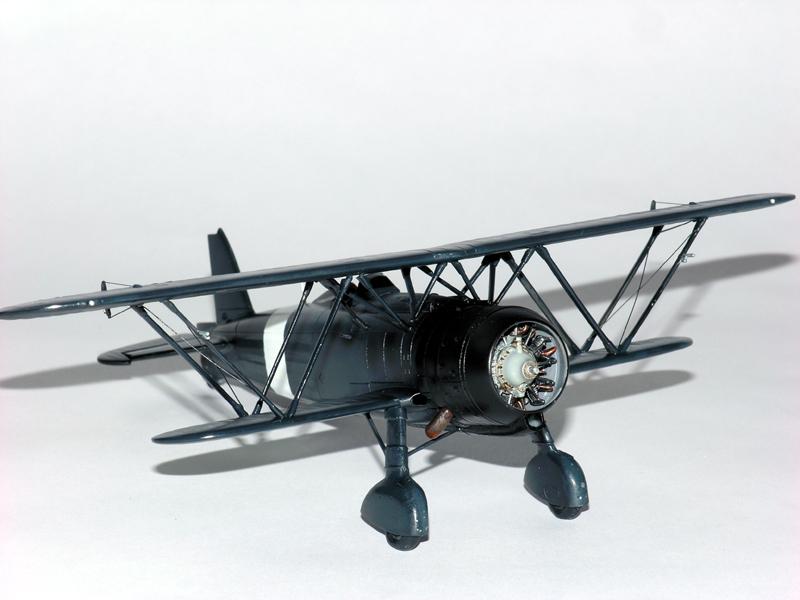
by Will
Begining the painting work
On the picture the engine cover is more dark and more flat than other parts of the plane, I suppose it was coated with soot by the mechanics to avoid glare to the pilot.
I paint this part with pure flat balck, the other parts are bluish (griggio azzuro scuro)

Posted: Fri Mar 16, 2012 3:52 pm
by gruson
Hi Will,
Fine work, I like it.
Regards
michel
Posted: Sun Mar 18, 2012 3:10 pm
by Will
Hi, Michel,
Thank you, some new photograph
The black of the engine cowling and the dark blue of the plane
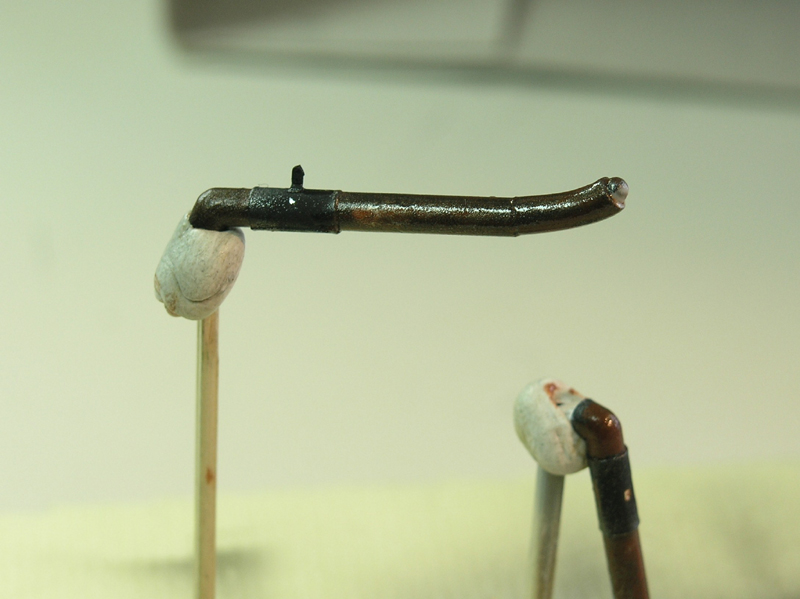
Waiting for the paint drying I paint the exhaust pipes, first in acrylic Gunze gun métal and with fine art oil paint "terre de Sienne brûlée" thined with "huile d'oeillette" for finishing.
The pictures of the IMAM founded in Afganistan are a good source for this kind of work
Posted: Tue Mar 27, 2012 5:52 am
by Will
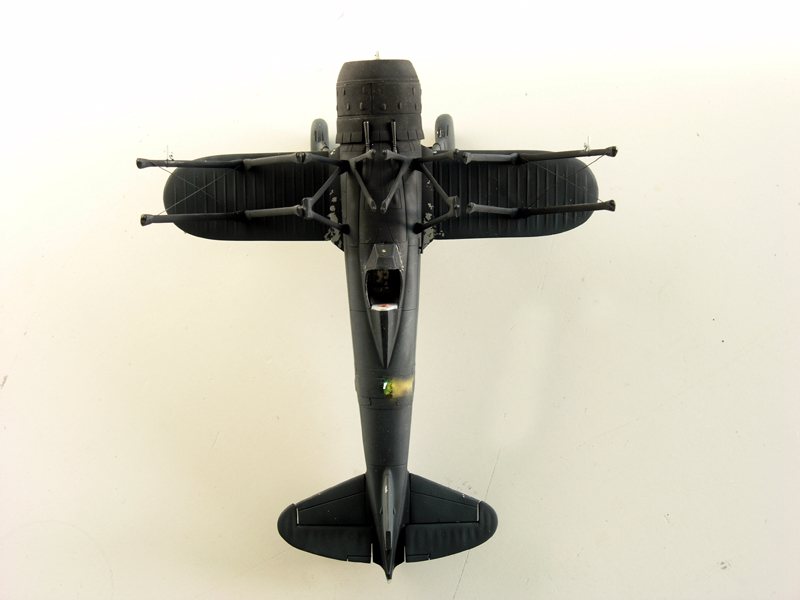
Work in progress,
Application of Klir (gloss), we can see the black of cowling and the dark blue of the body
Application of Stormo's decals Italian Aces Part II, very easy to use and very thin
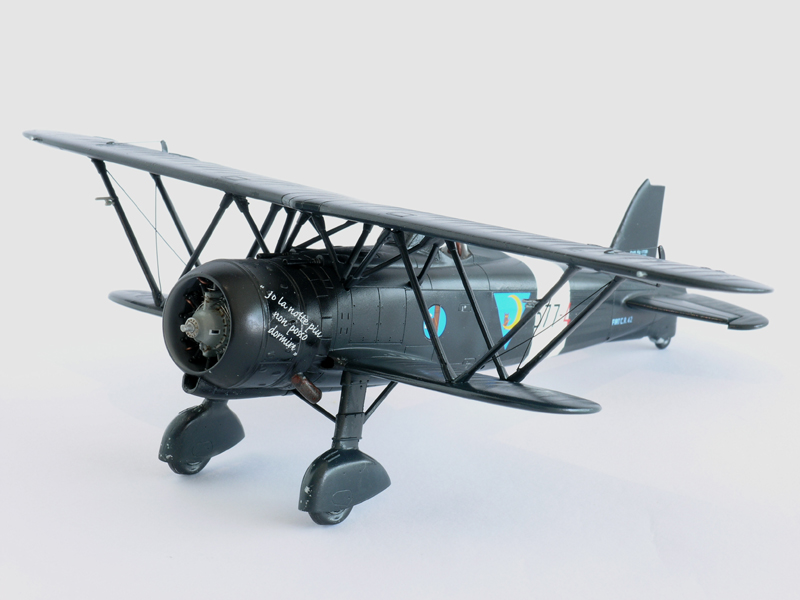
Just a little drop of Microsol to be perfect
Waiting for driing and next step will be the weathering
Enjoy
Cr42
Posted: Wed Mar 28, 2012 1:24 am
by Rick
Very very wonderful work! In my opinion it is one of the most credible reproduction of this subject!
Riccardo
Posted: Wed Mar 28, 2012 2:25 am
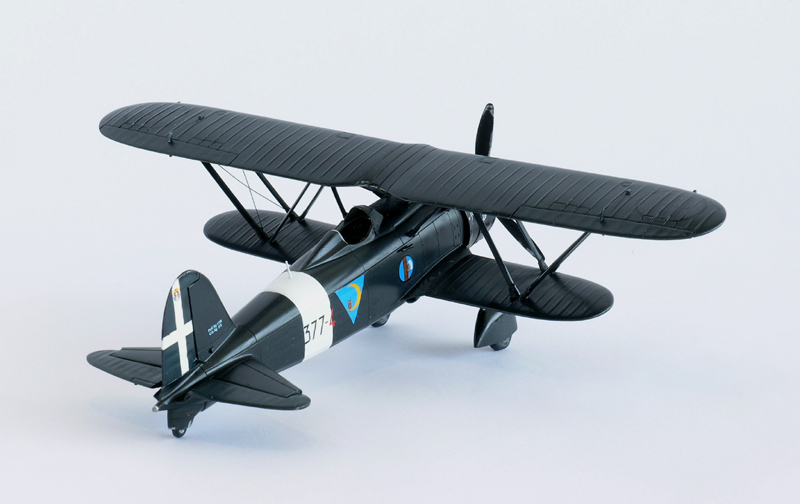
by Will
Thank you Ricardo,

I found last evening a photo of this side of the cowling, on this side "Io" is down ansd "piu" is up.
I have to try to detach the décals to place it in the right direction !!!


