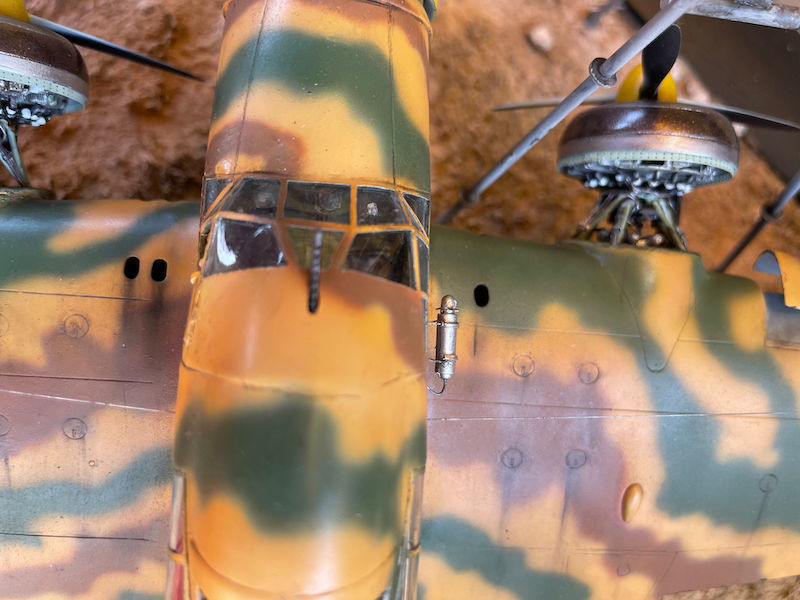
Today I would like to present another work of mine concerning Savoia Marchetti s79 in bomber version. This will be a very long WIP (work in progress) full of photos .... I hope not to bore anyone!
The starting box will be the Classic Airframe in 1/48 and the kit will be extensively detailed to make it in my style.
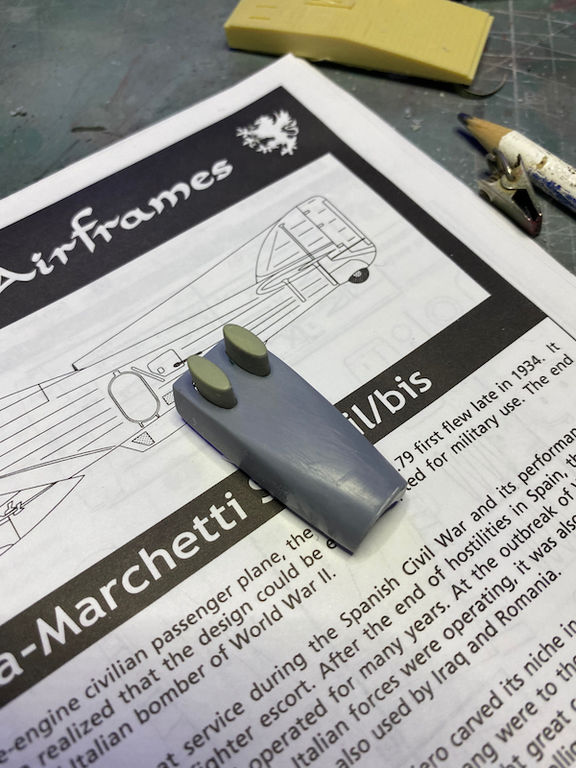
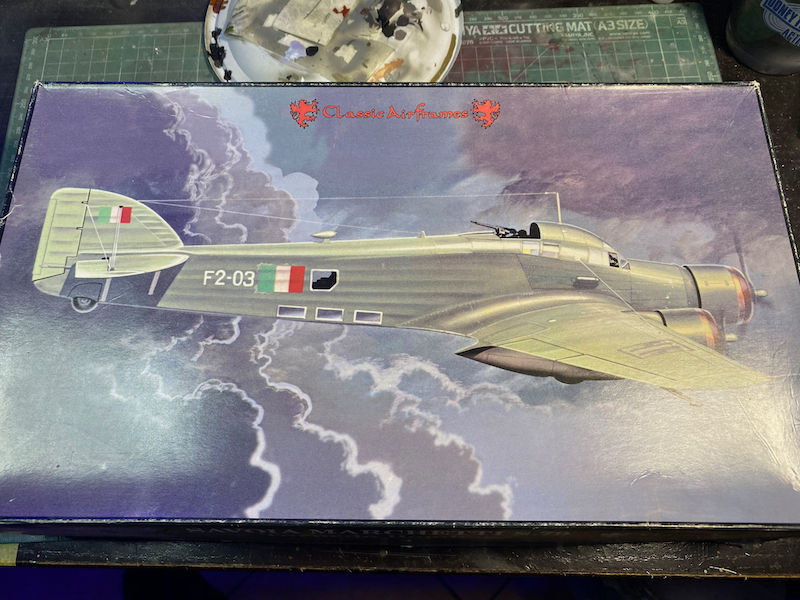
This is the boxart
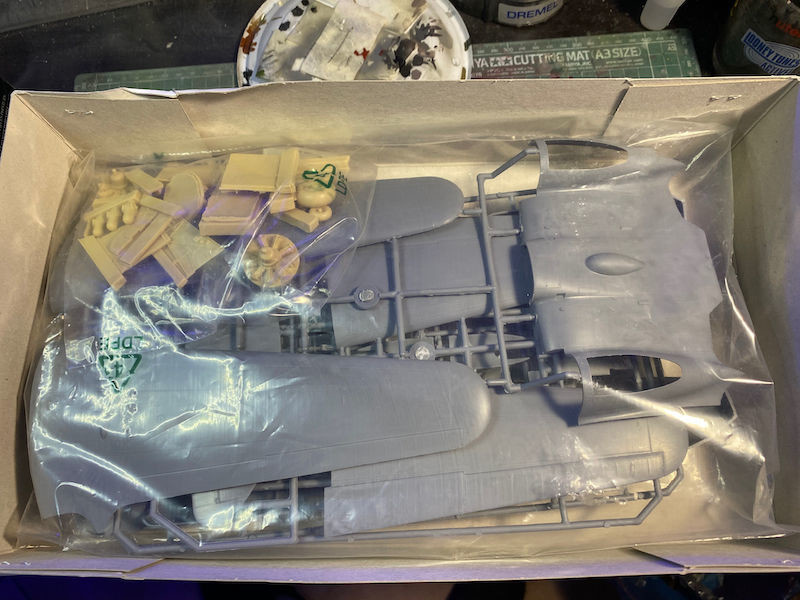
and these are the plastics
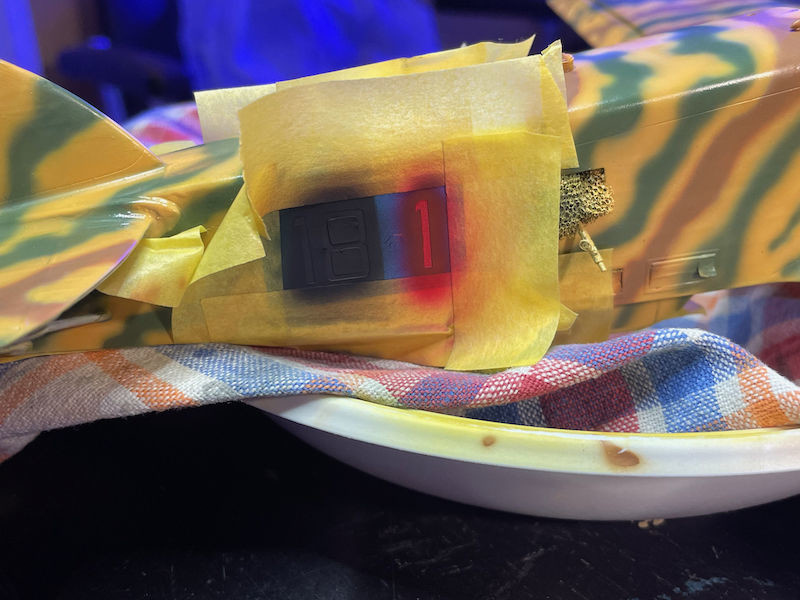
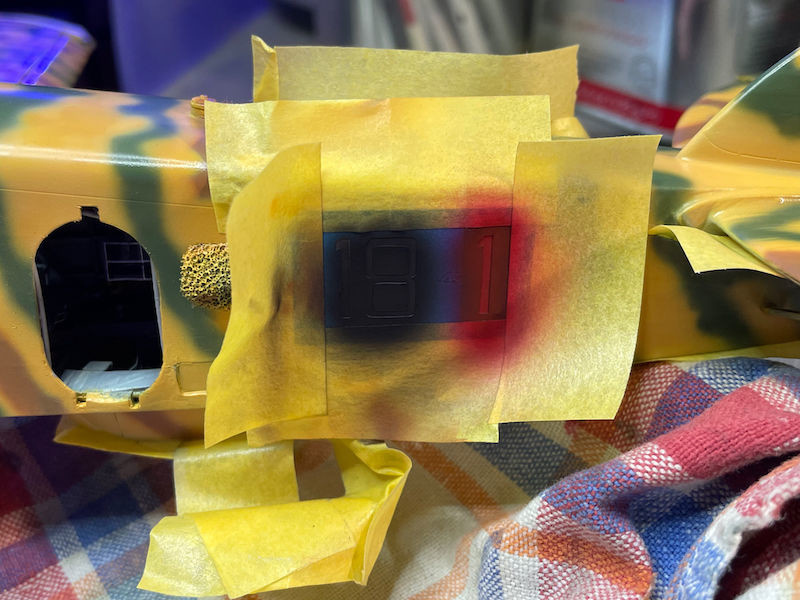
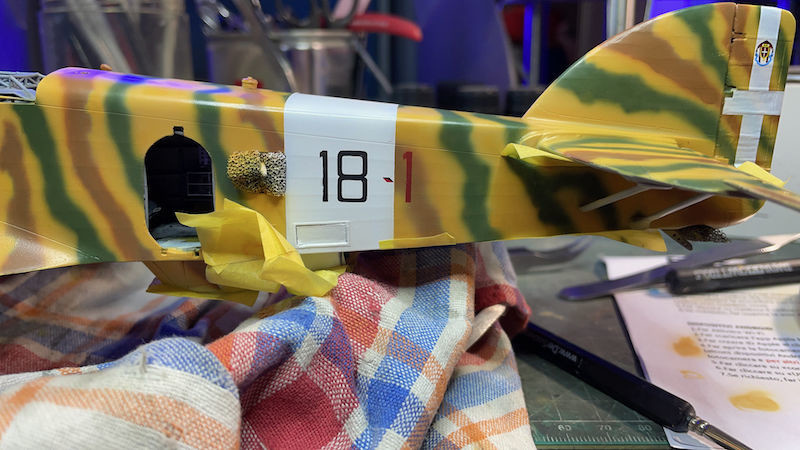
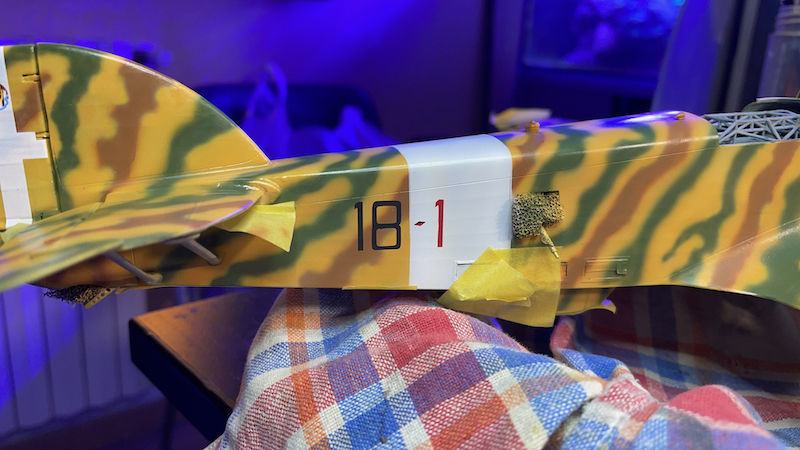
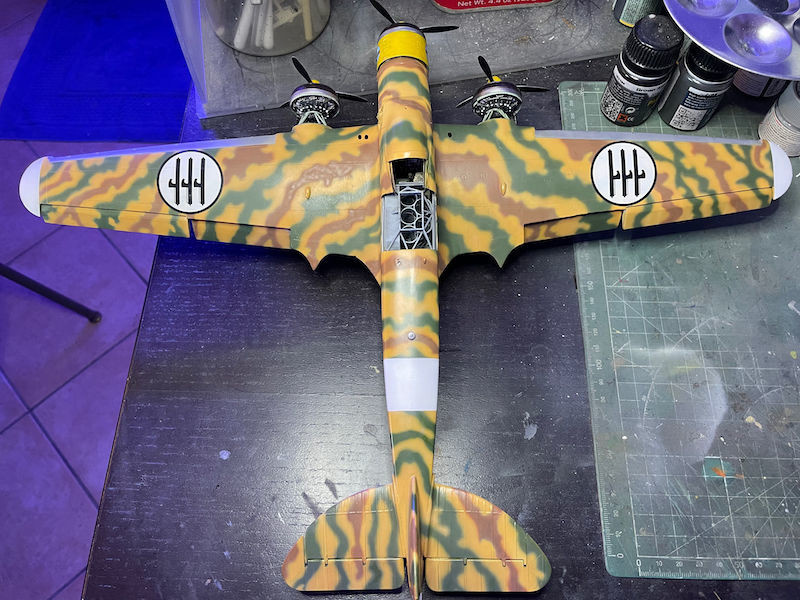
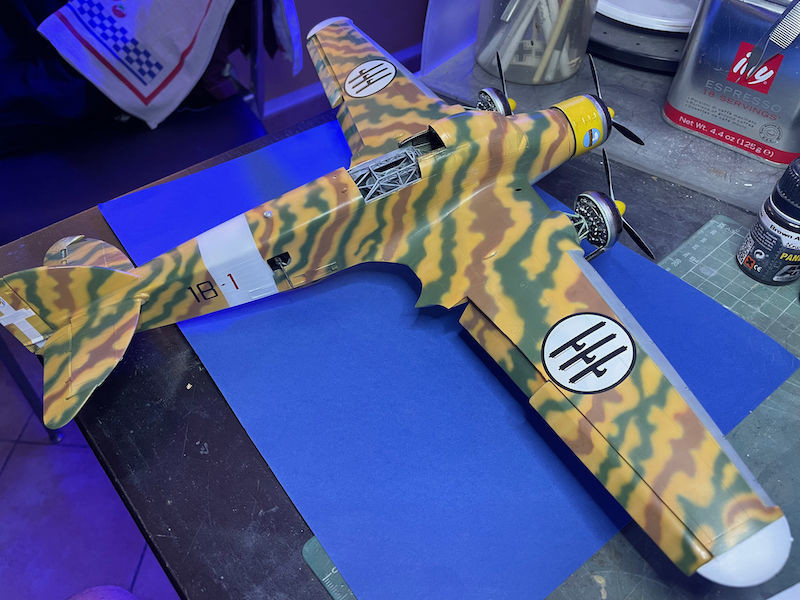
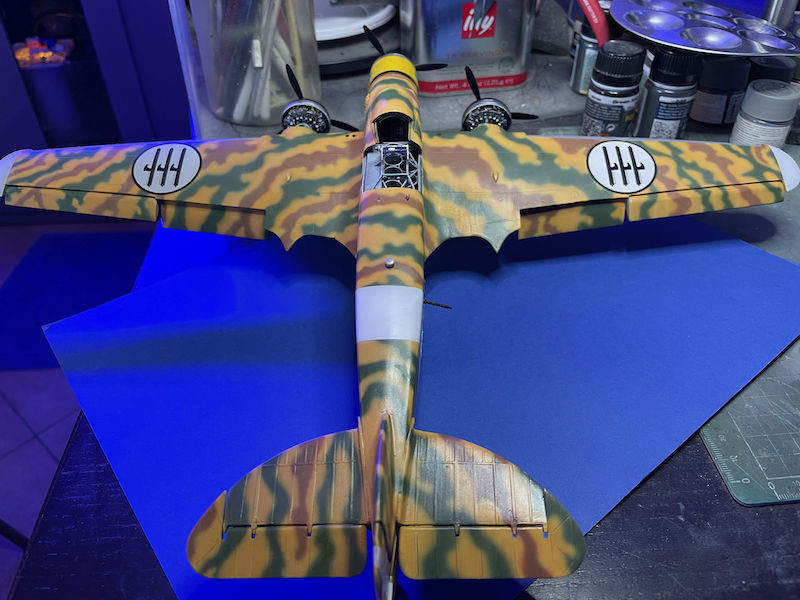
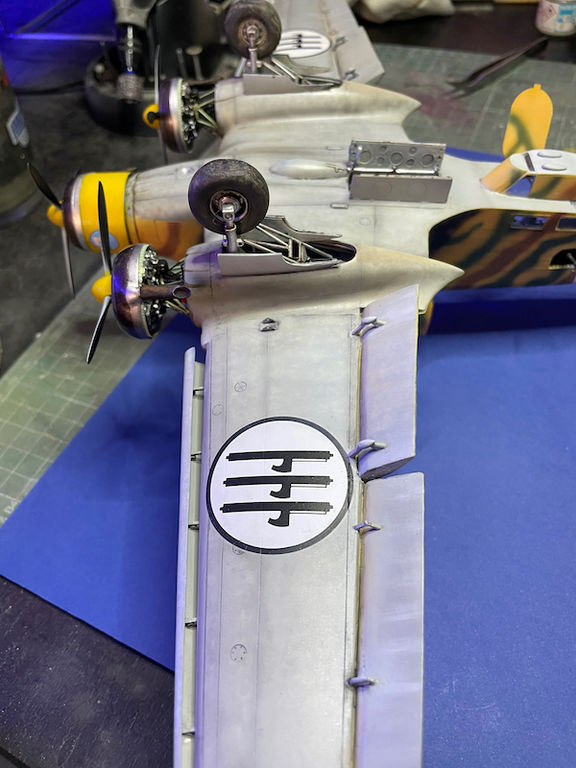
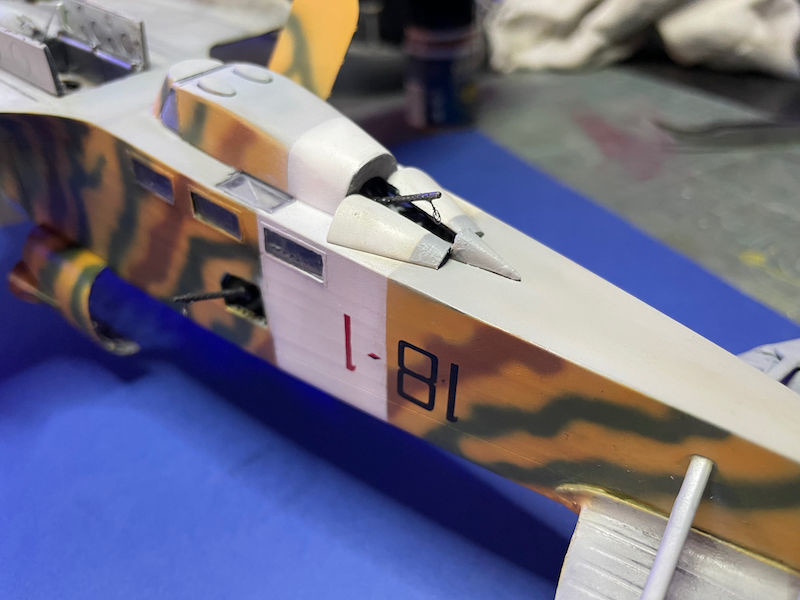
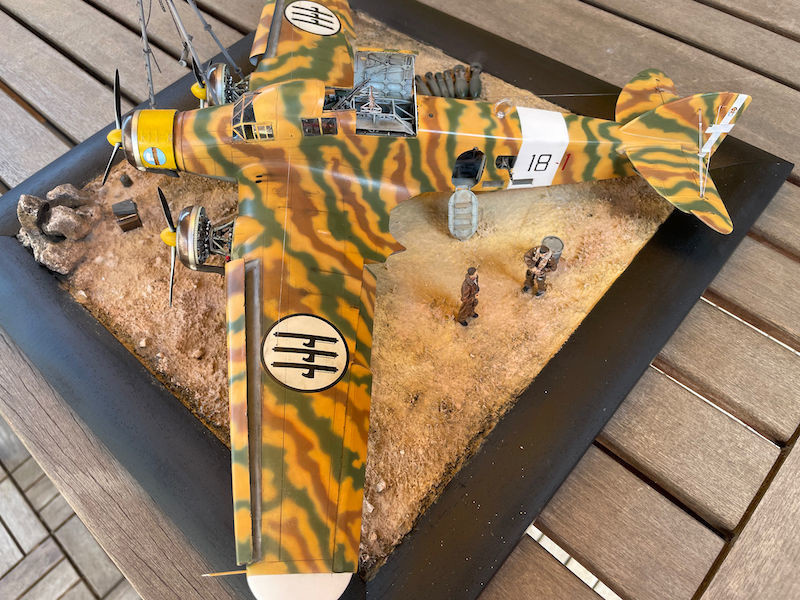
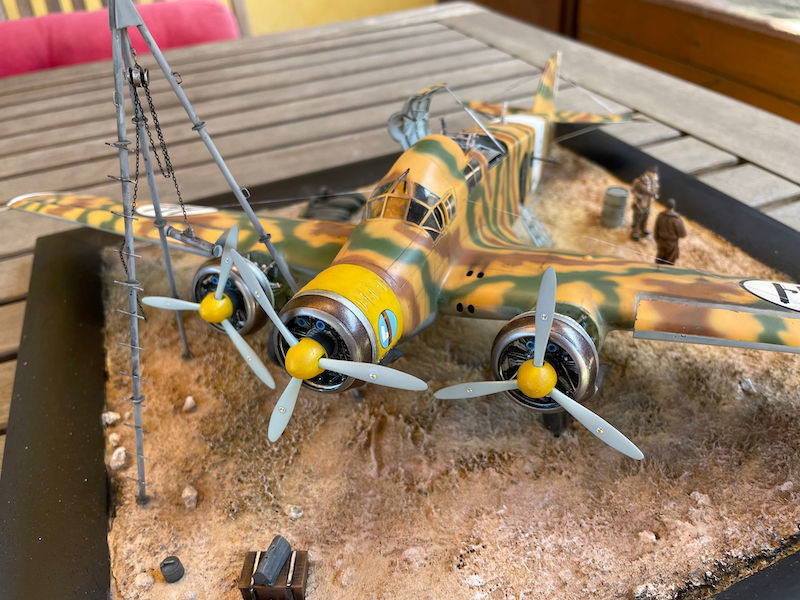
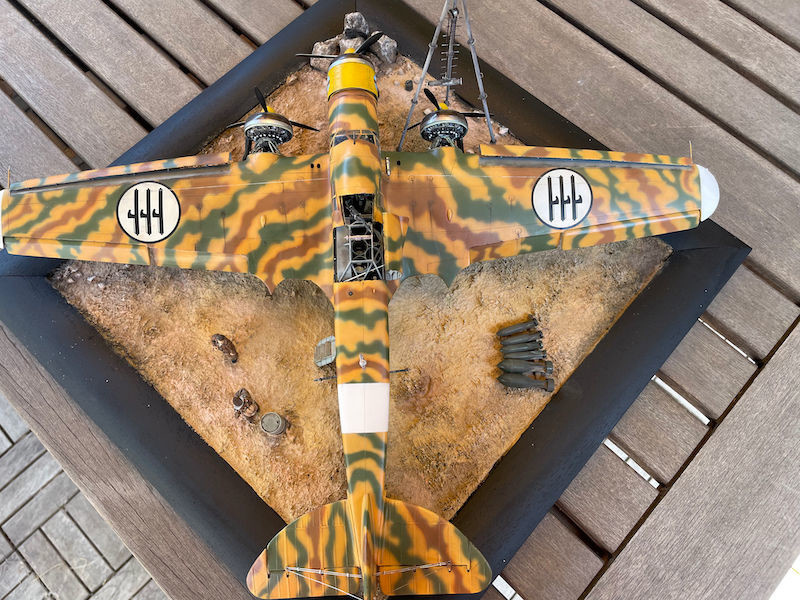
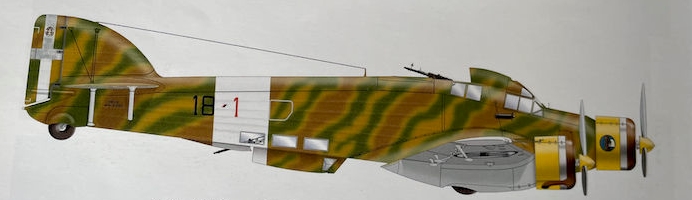
The aircraft will be a Siai S.79 of the 18th squadron, 27th group, 8th wing B.T. near Martuba in May 41
let's begin:
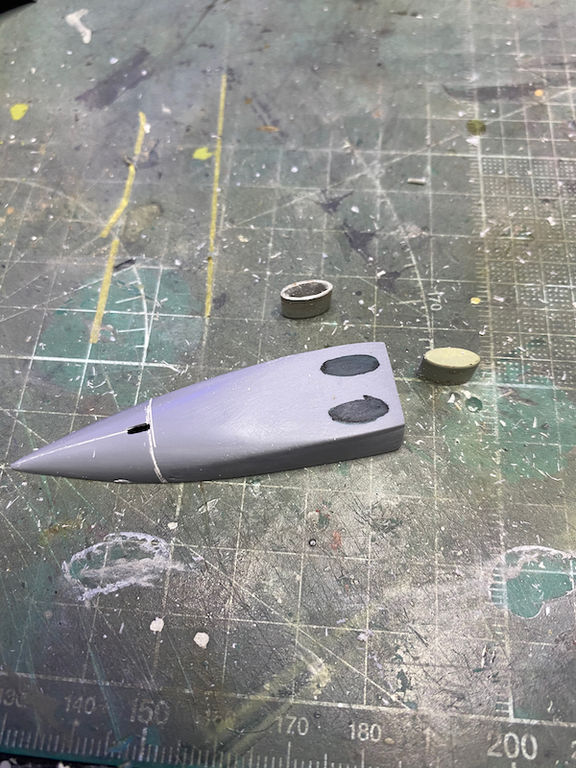
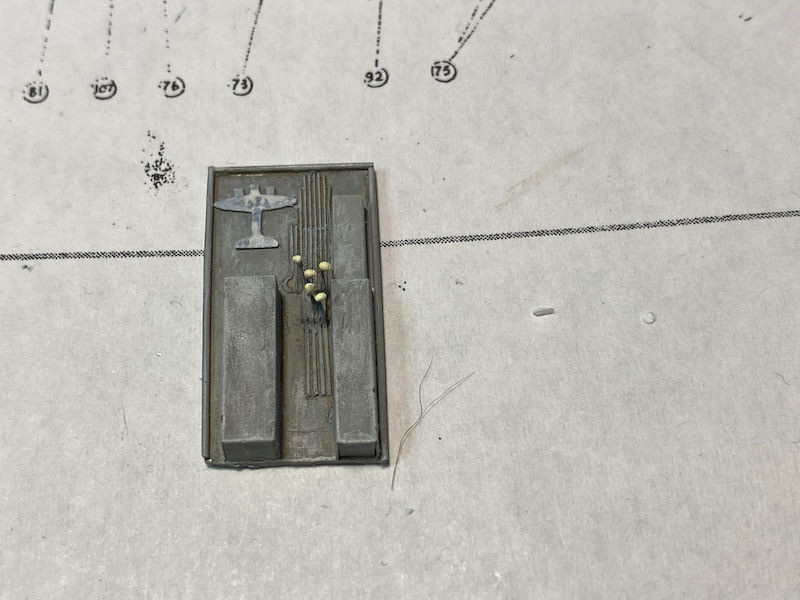
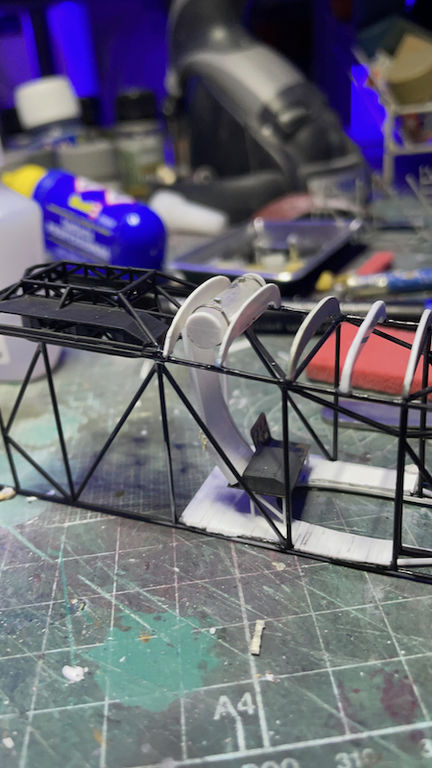
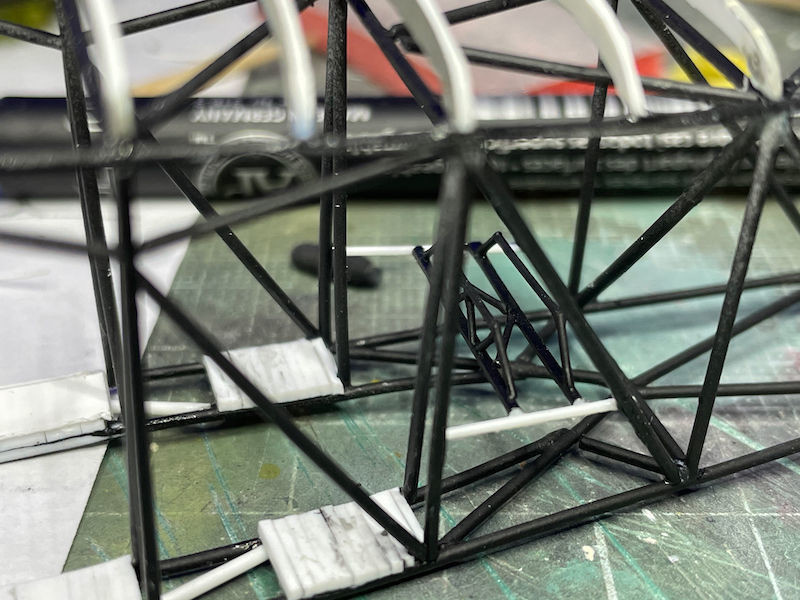
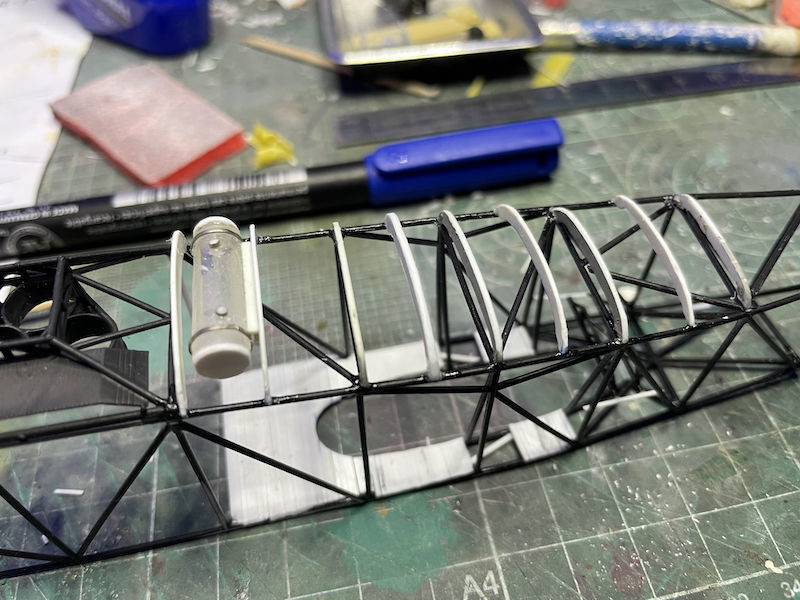
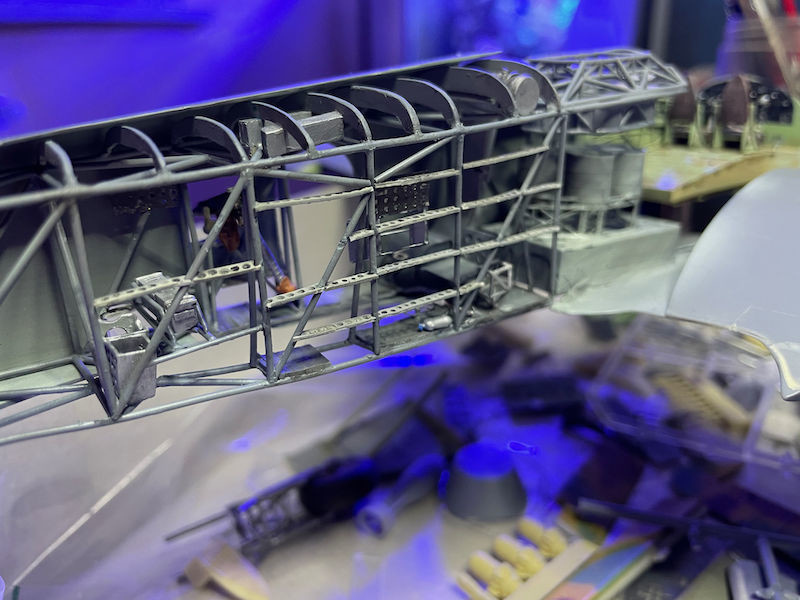
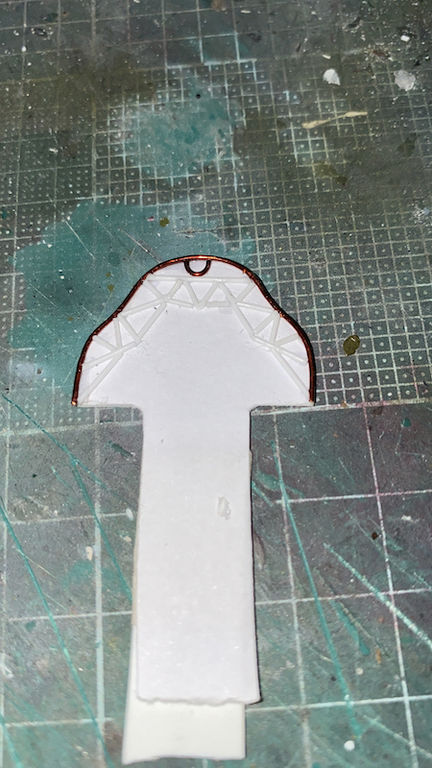
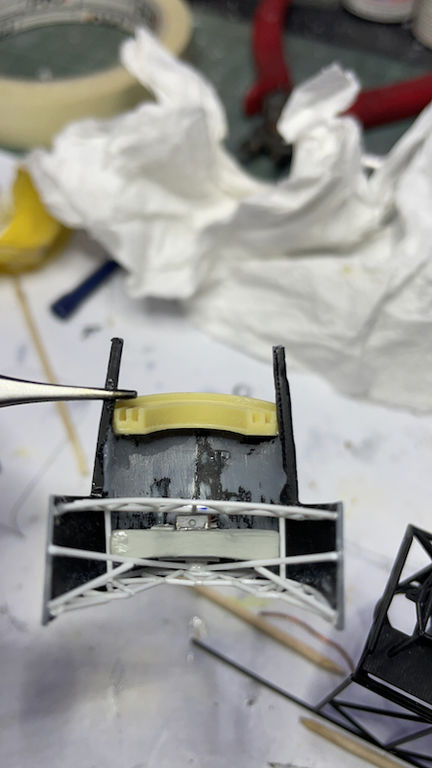
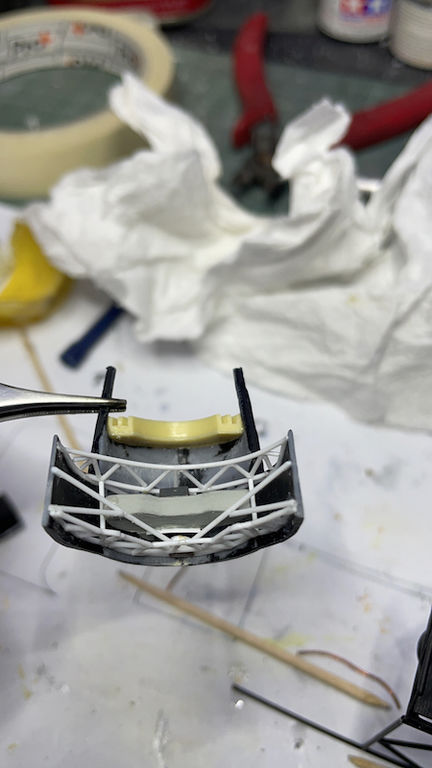
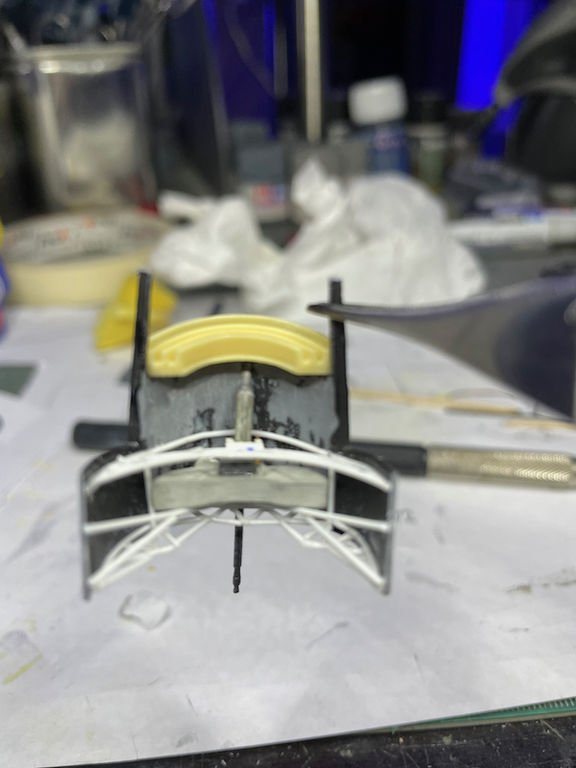
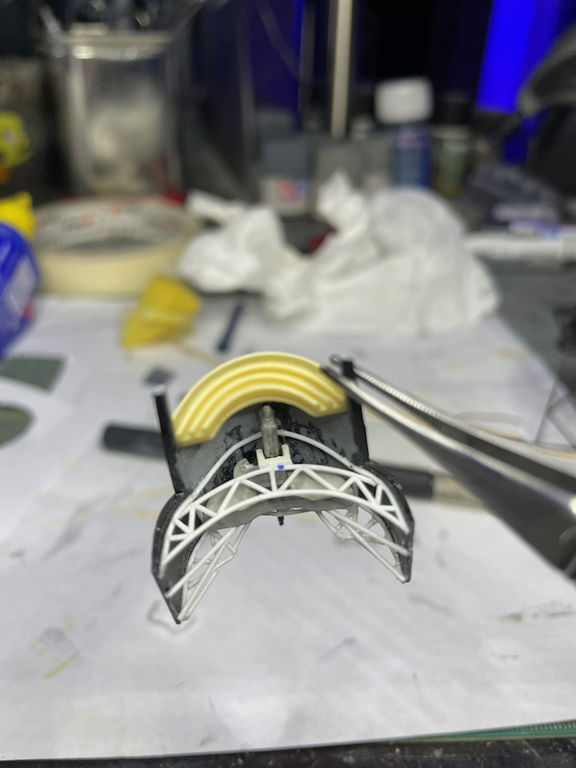
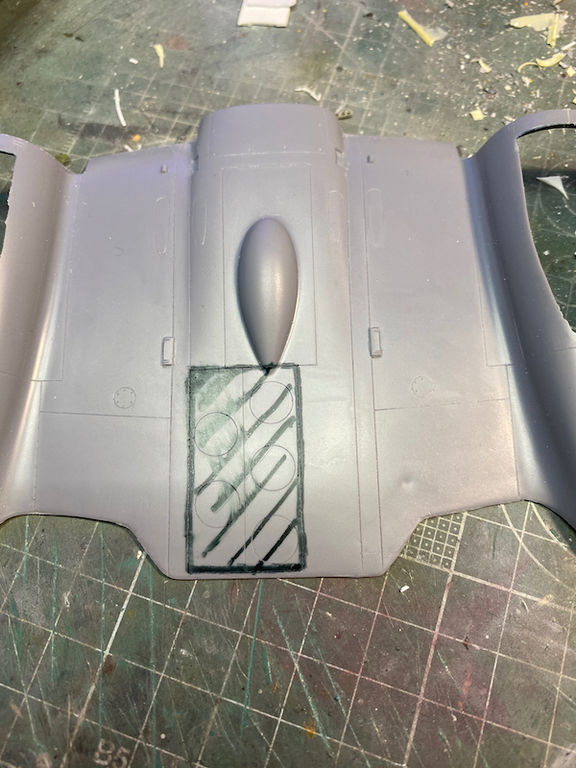
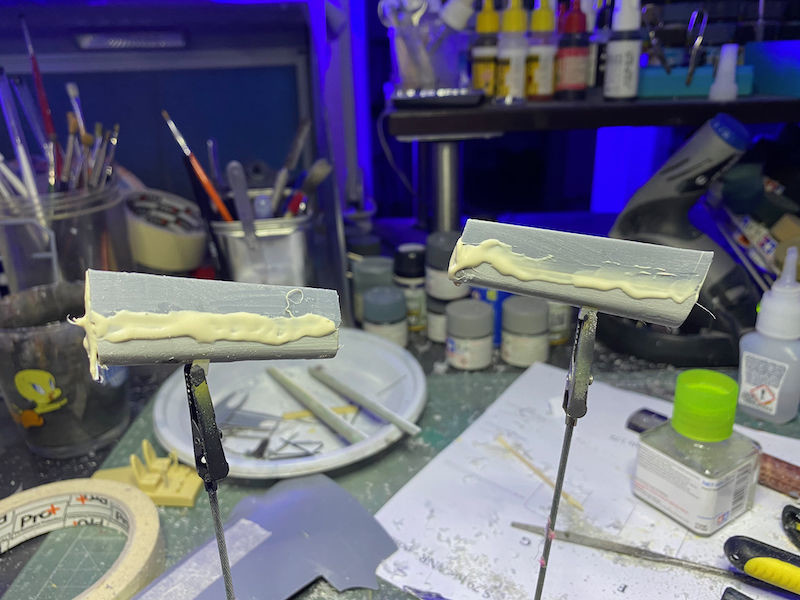
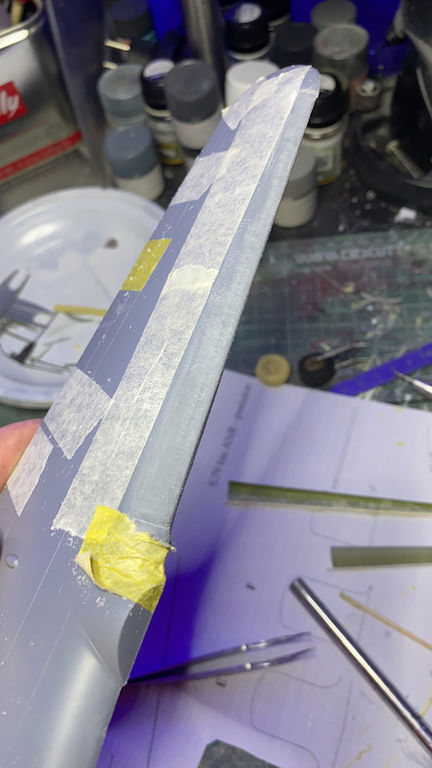
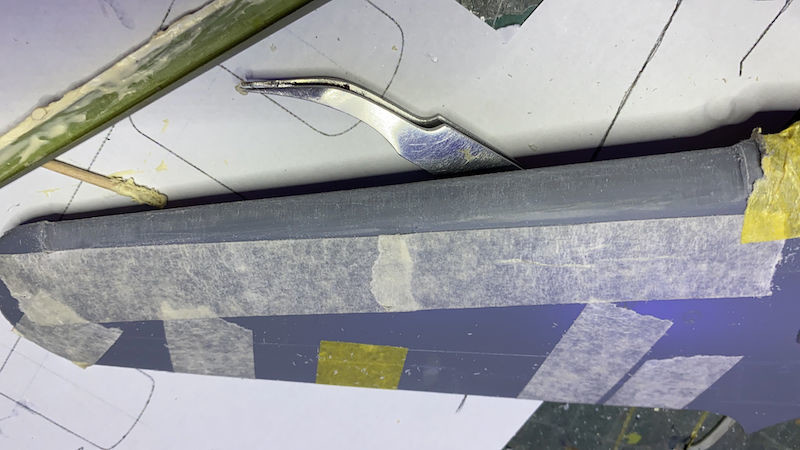
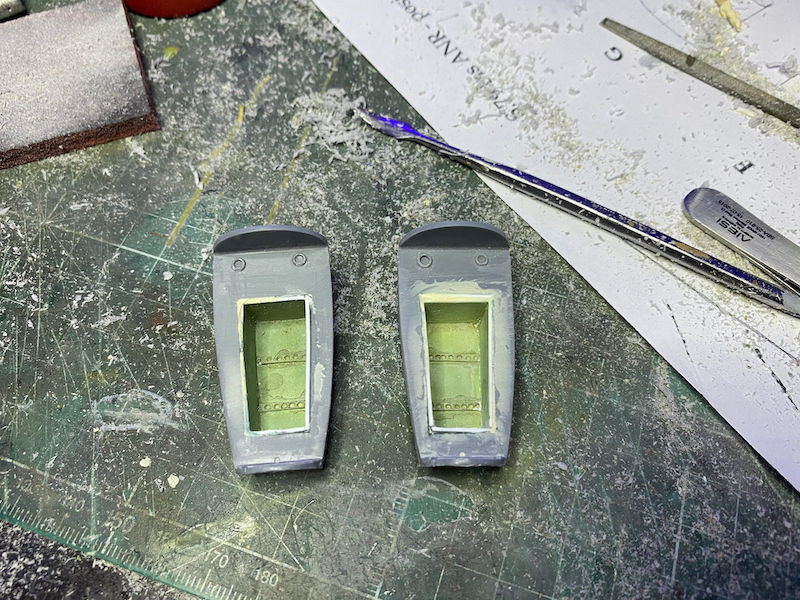
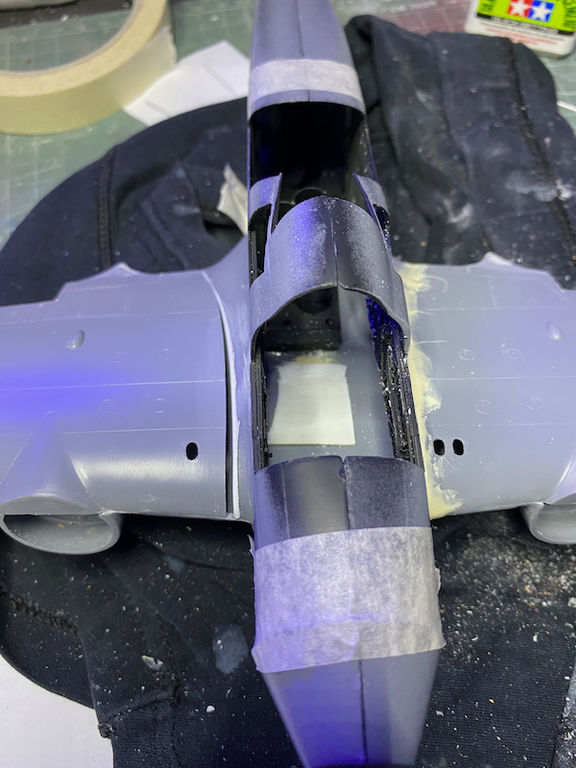
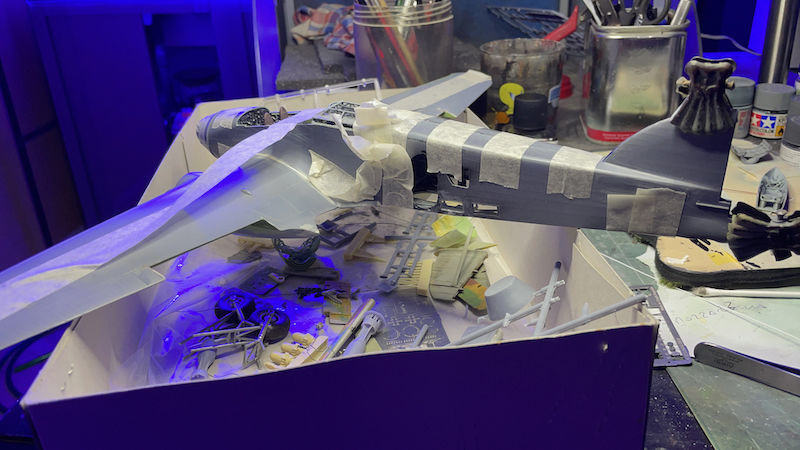
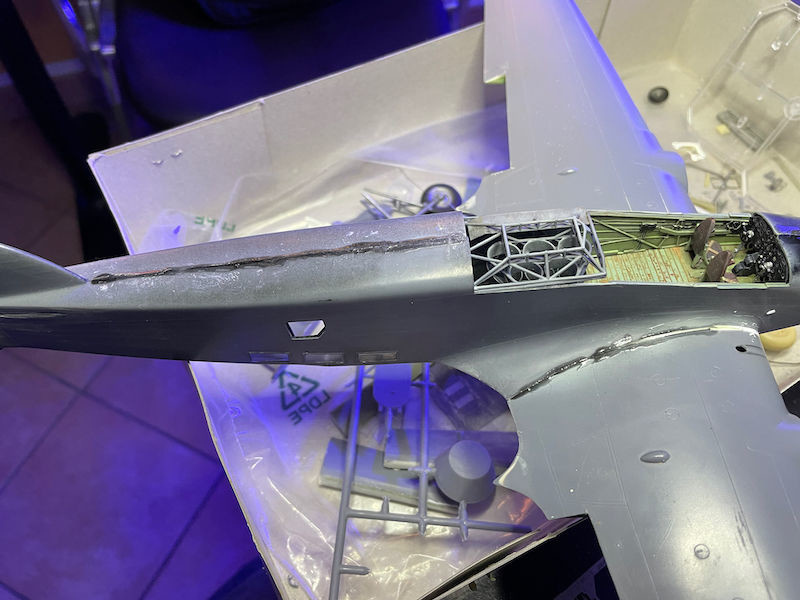
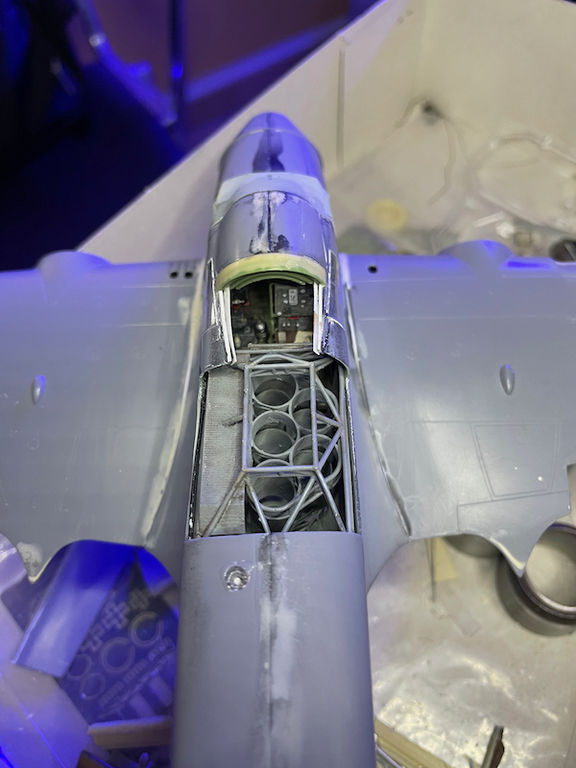
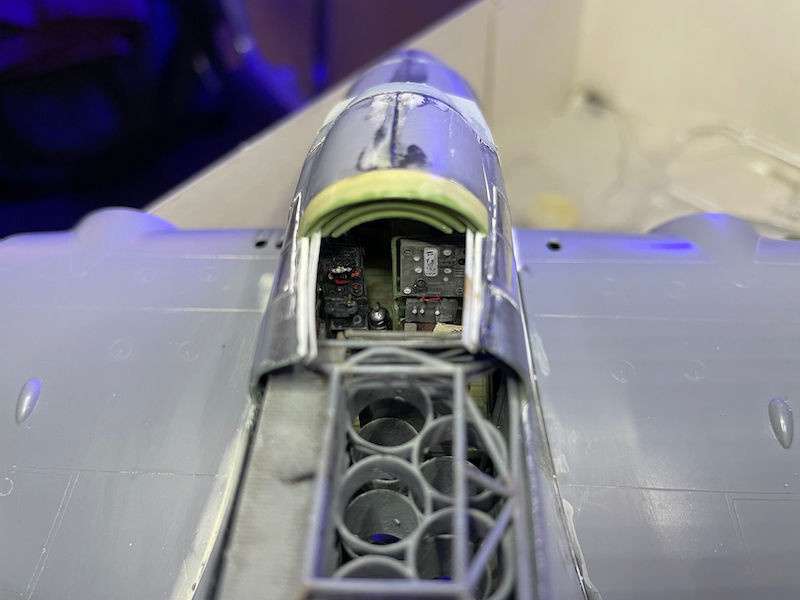
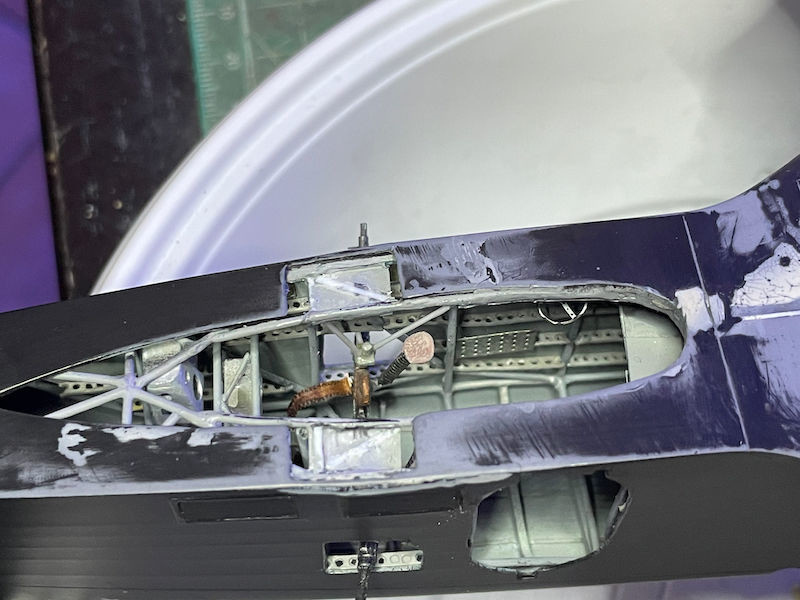
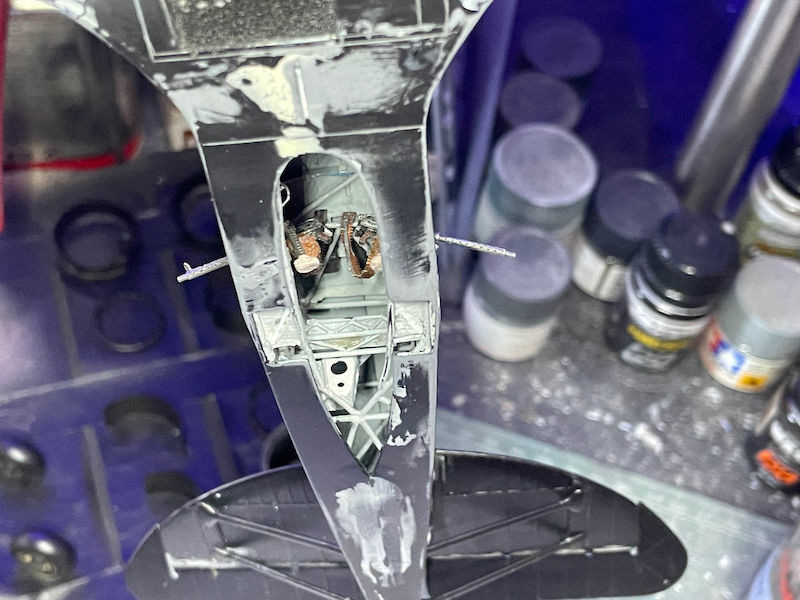
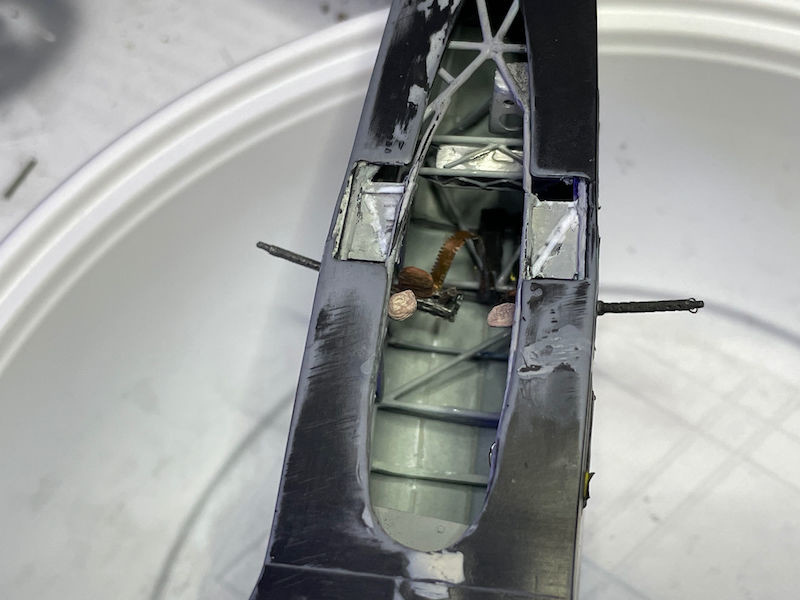
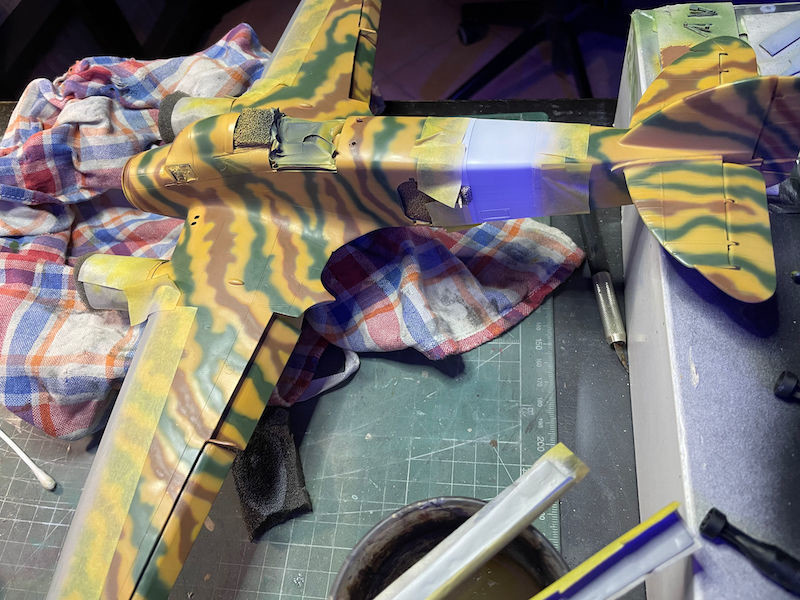
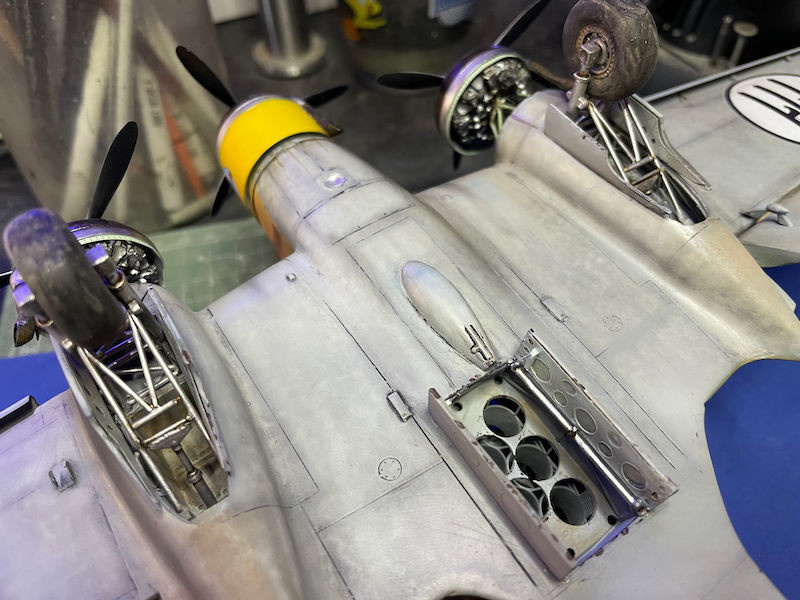
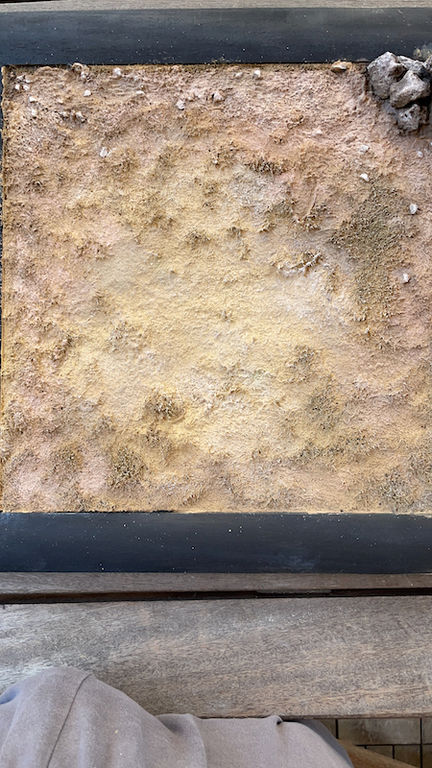
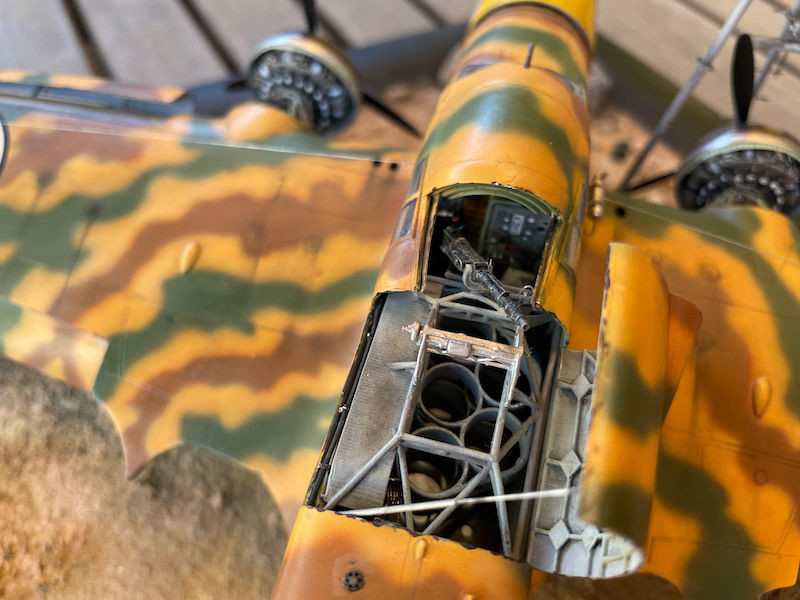
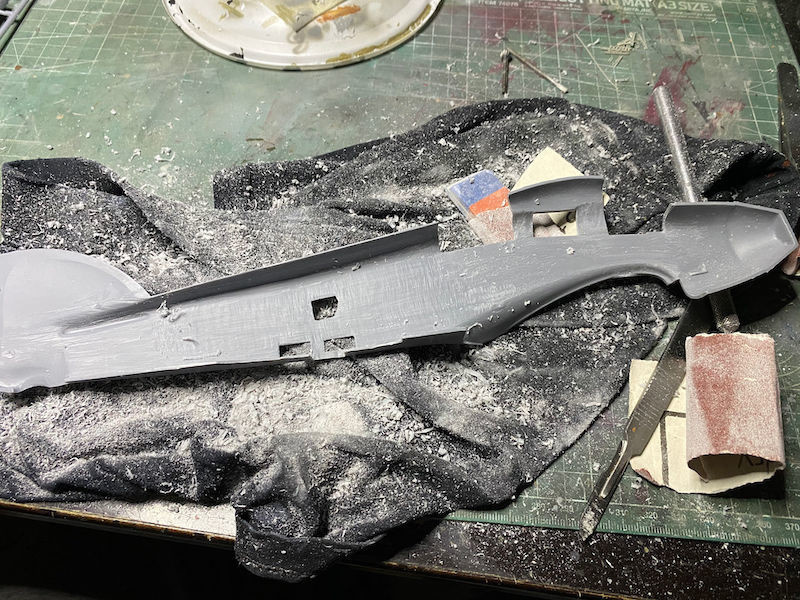
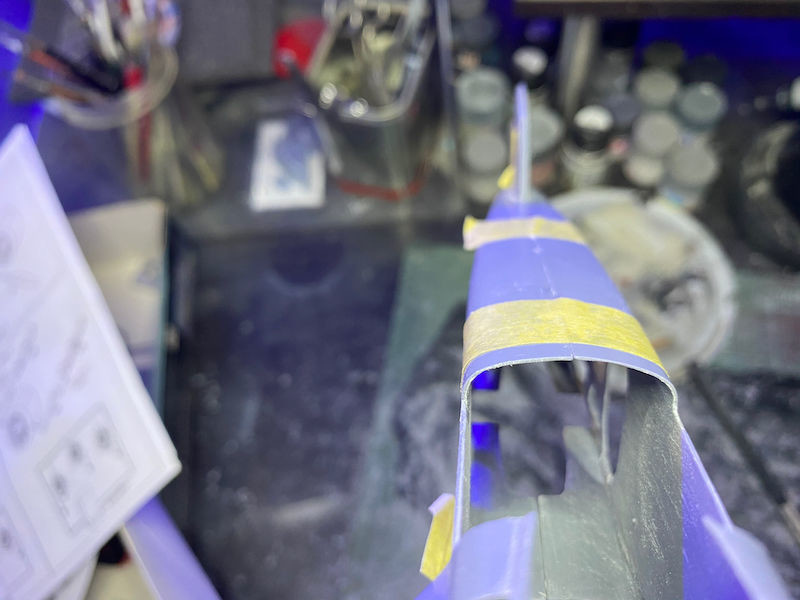
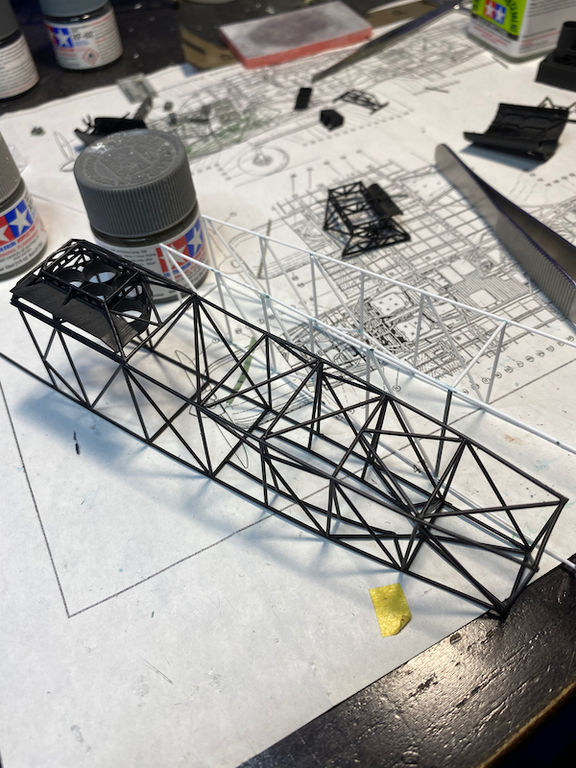
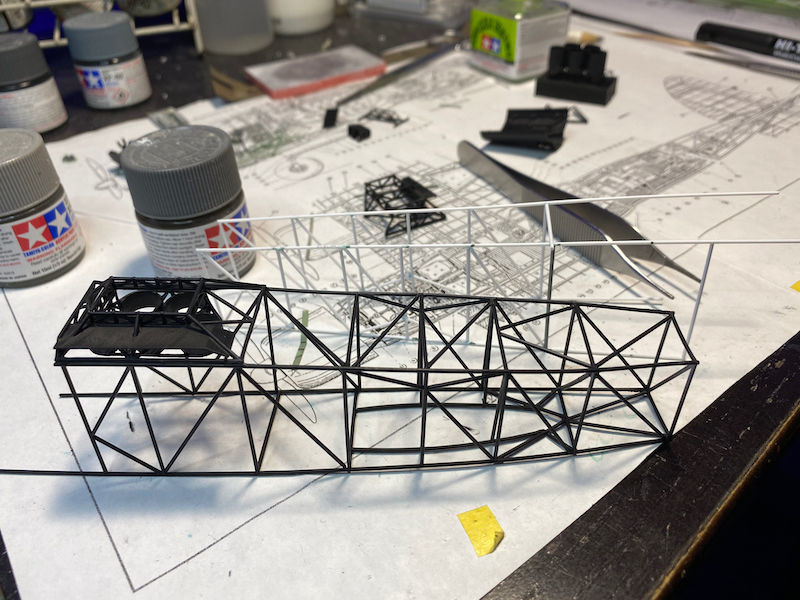
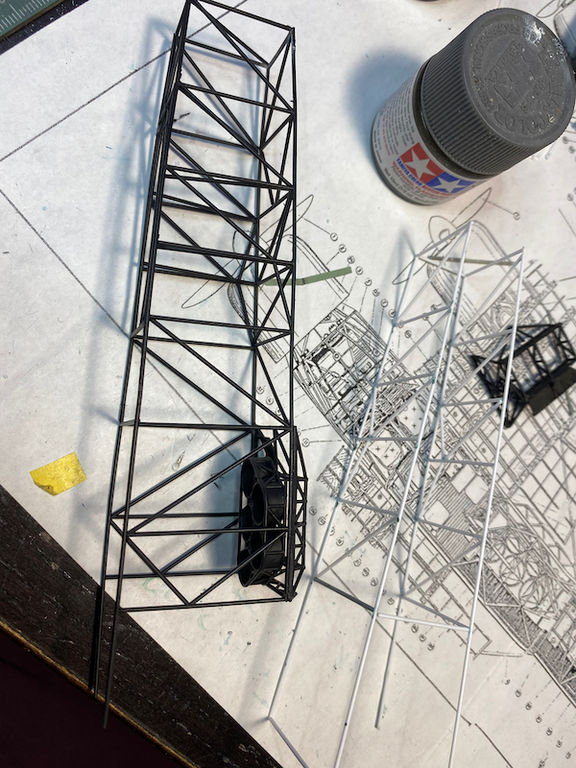
first of all I began to sand the fuselages to thin the plastics, the aim is to reproduce the entire internal structure through the use of rods with a section of 0.88 and 0.50 mm
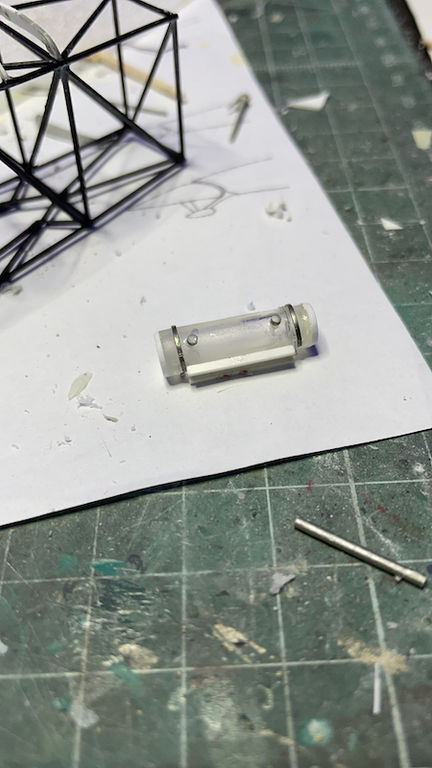
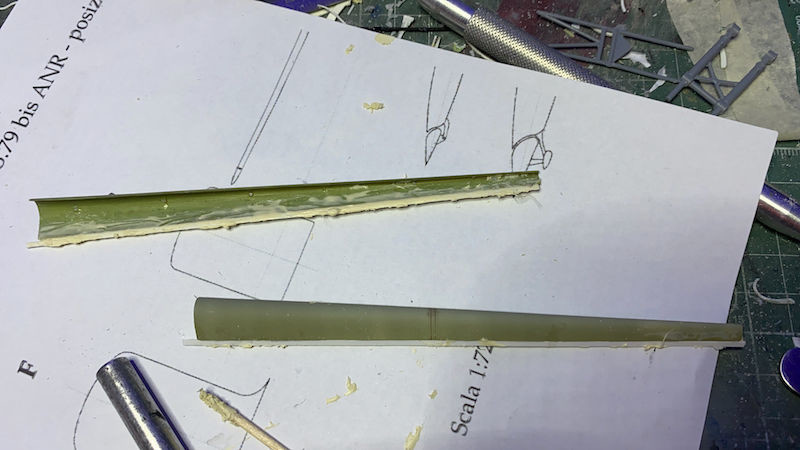
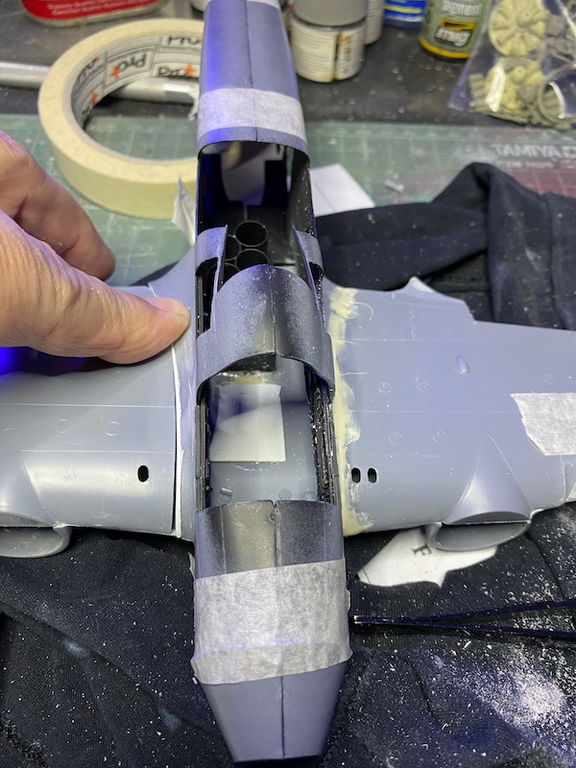
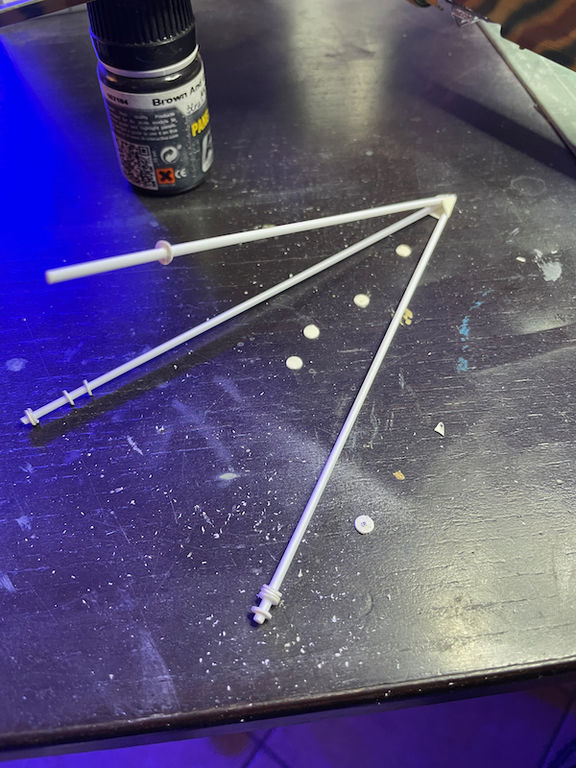
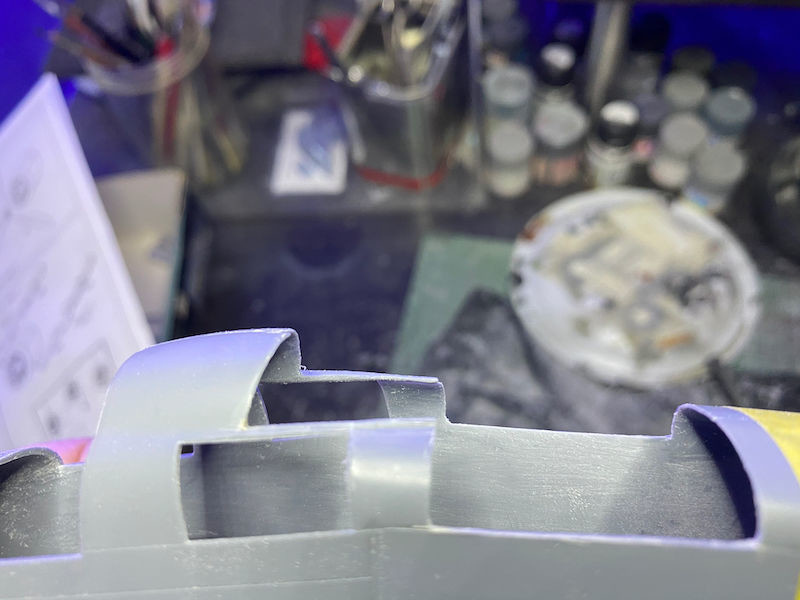
here you can see the section difference
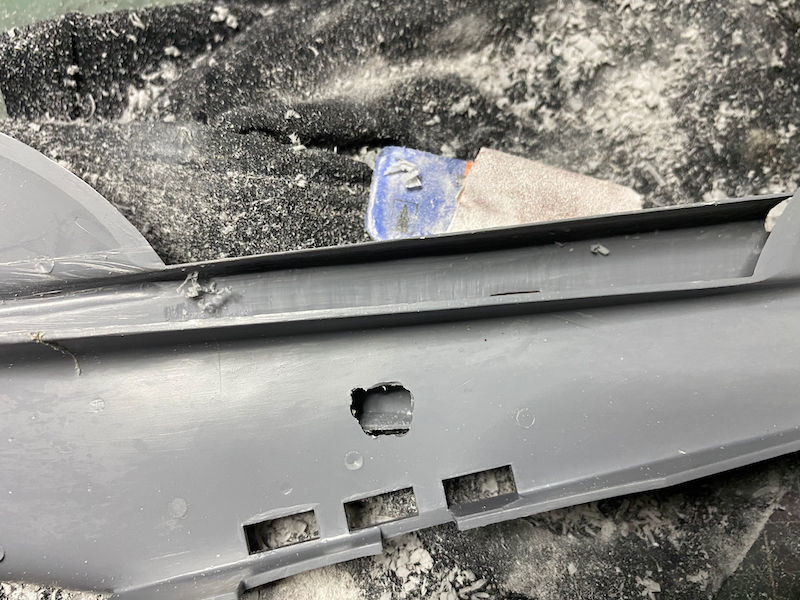

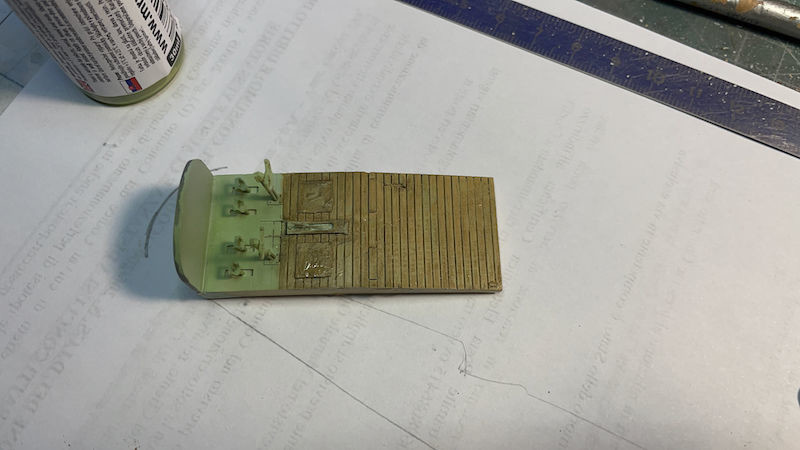
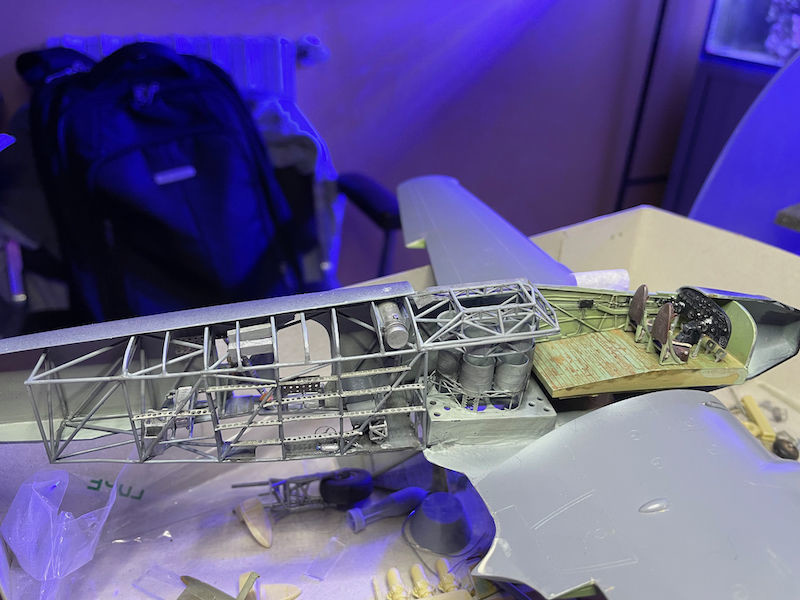
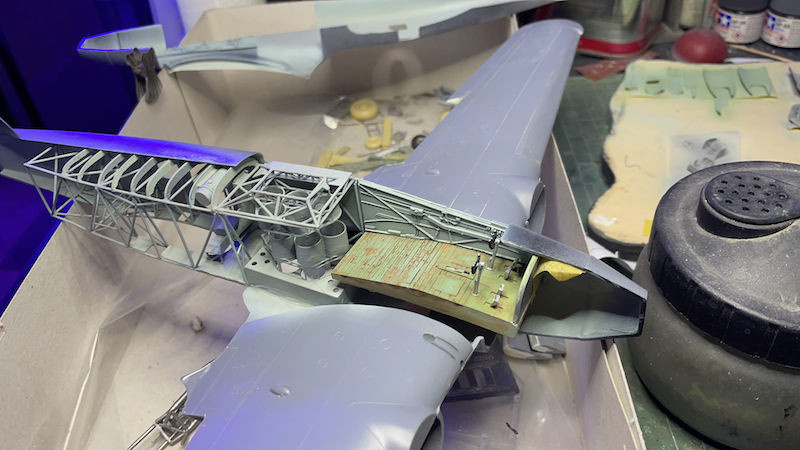
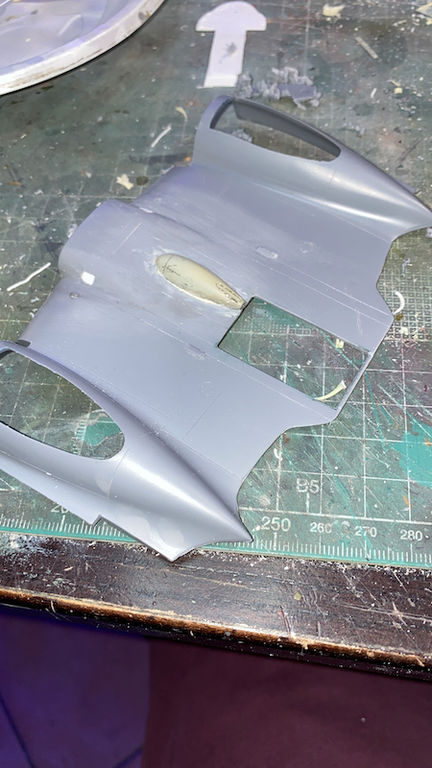
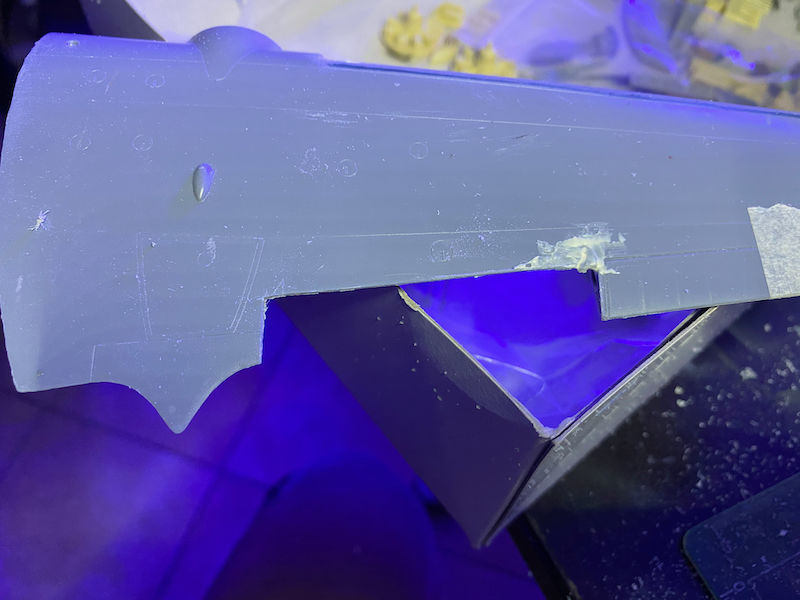
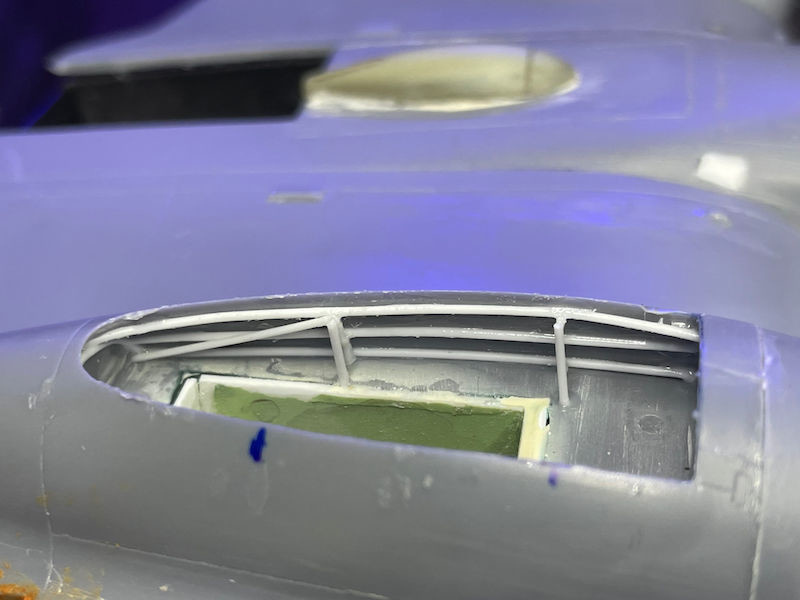
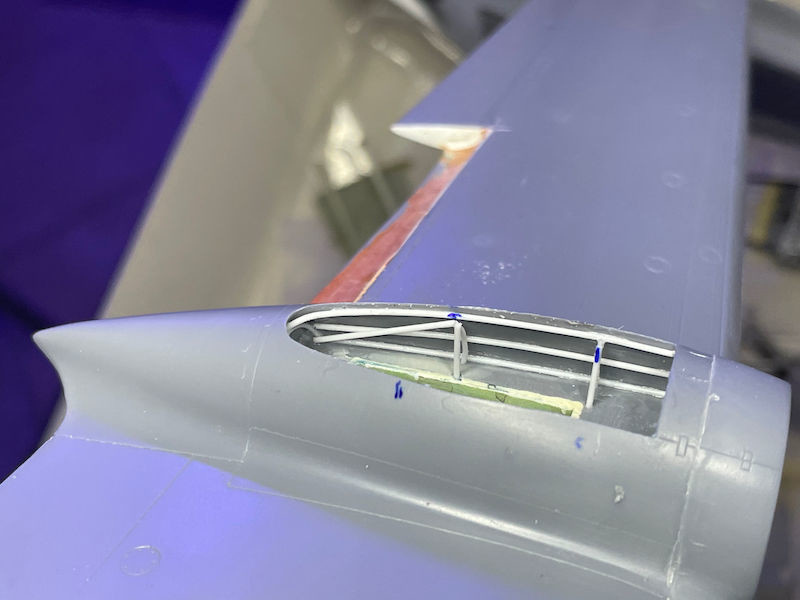
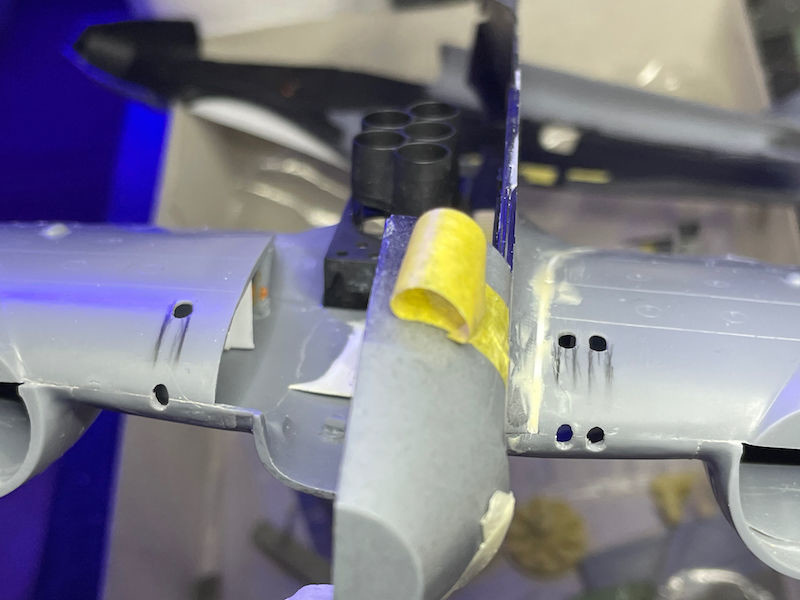
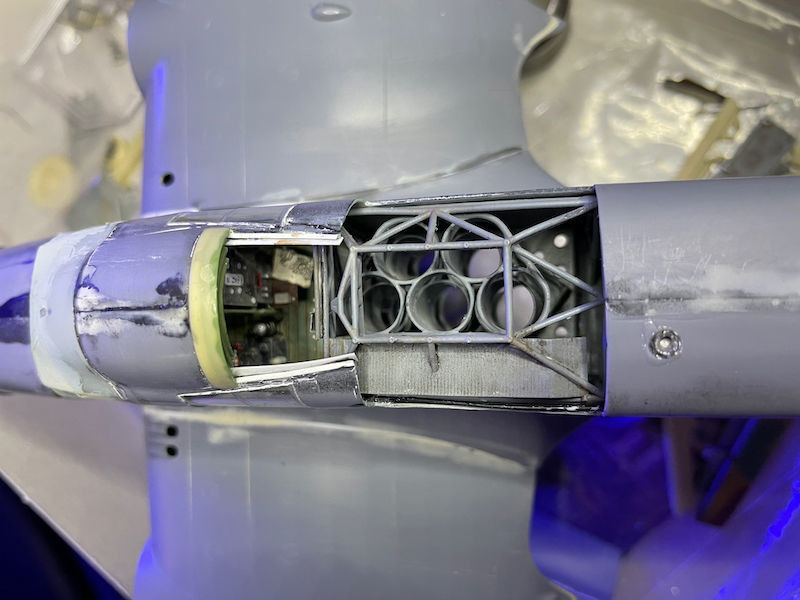
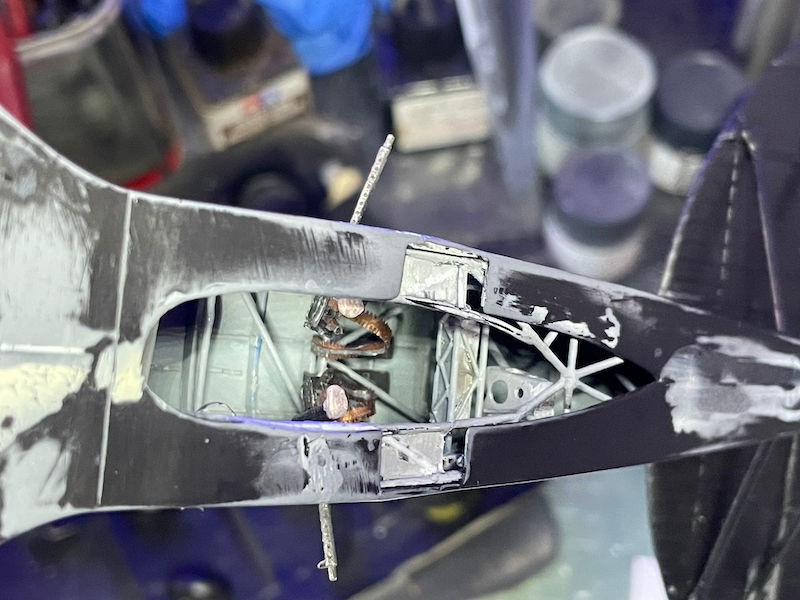
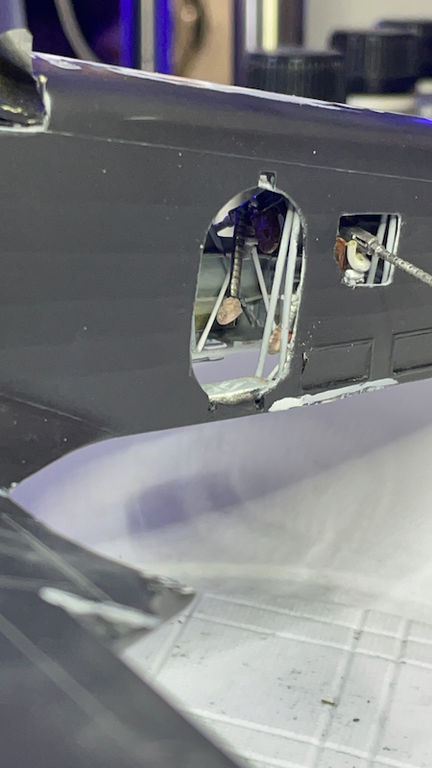
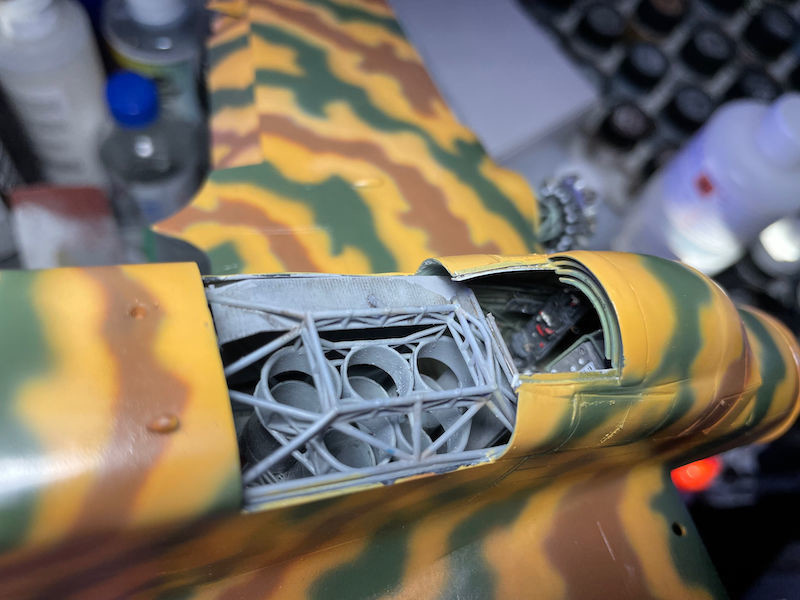
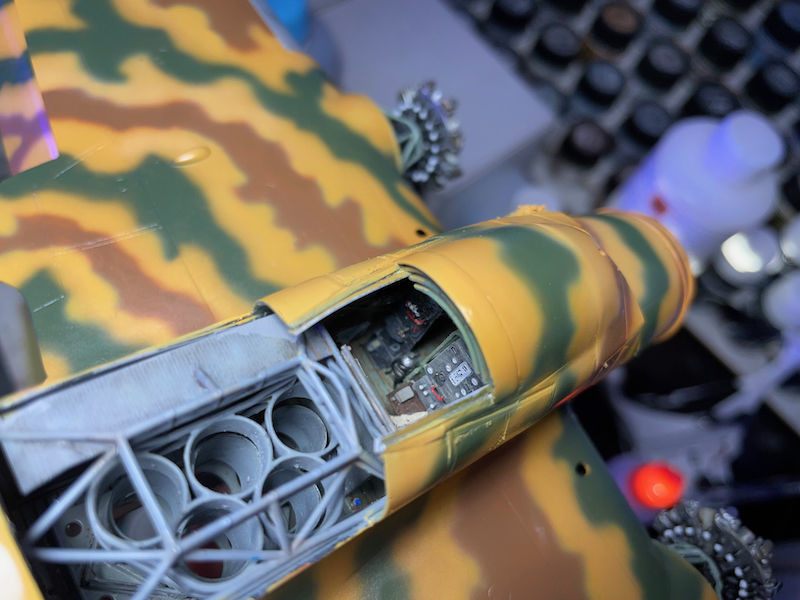
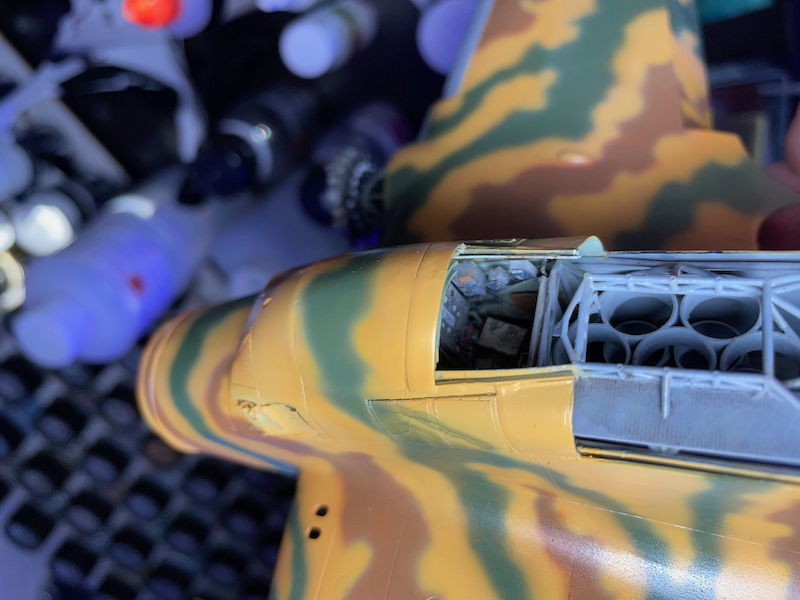
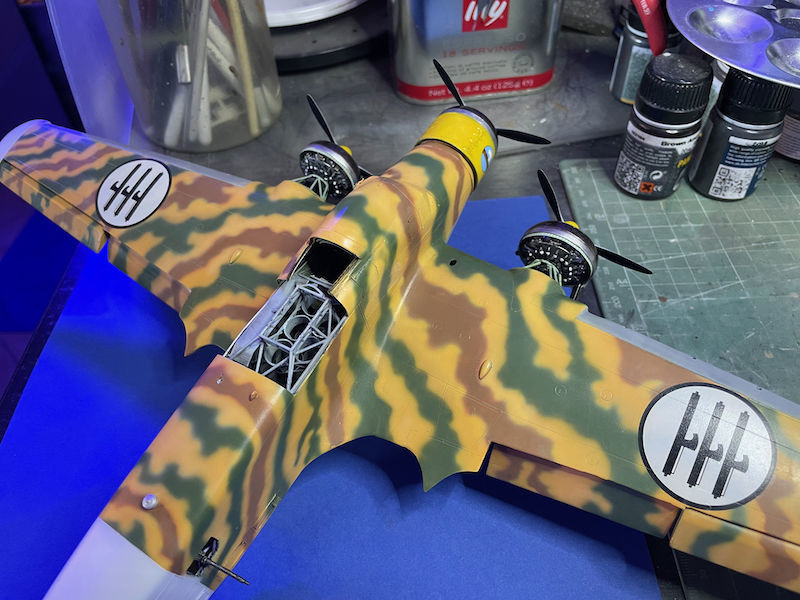
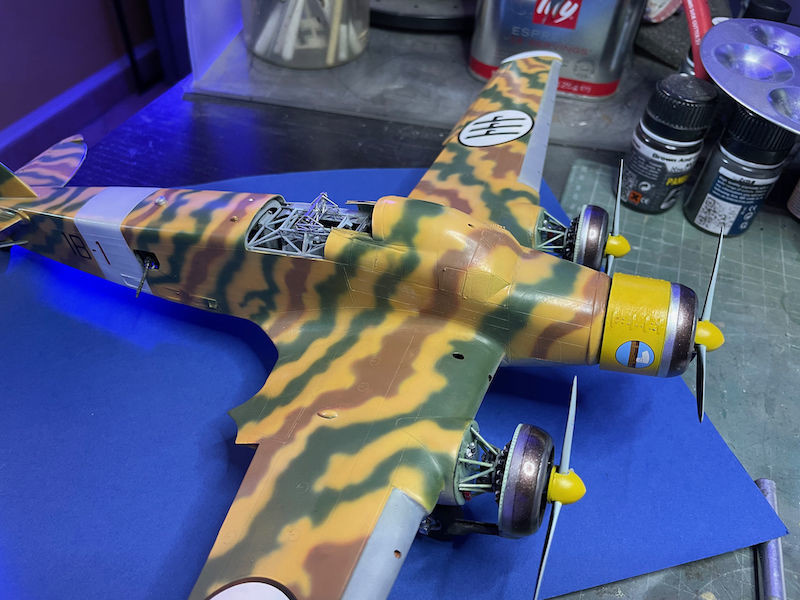
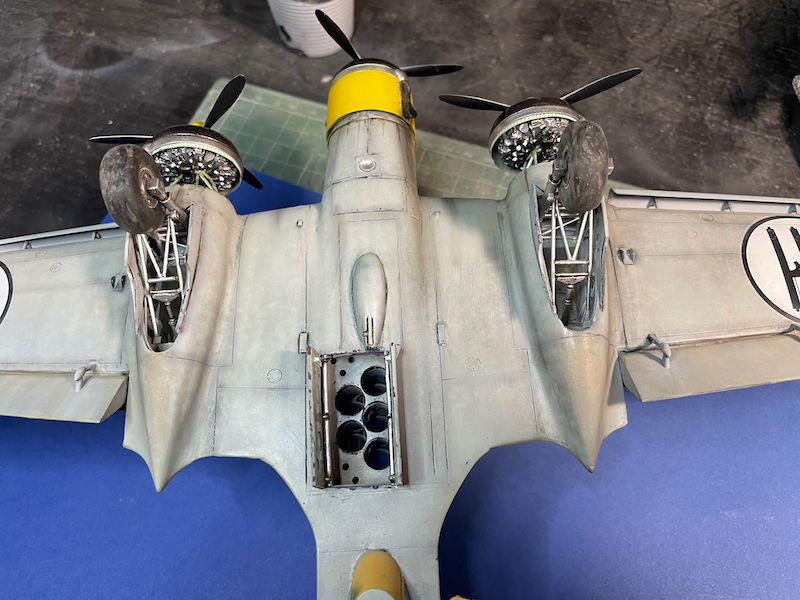
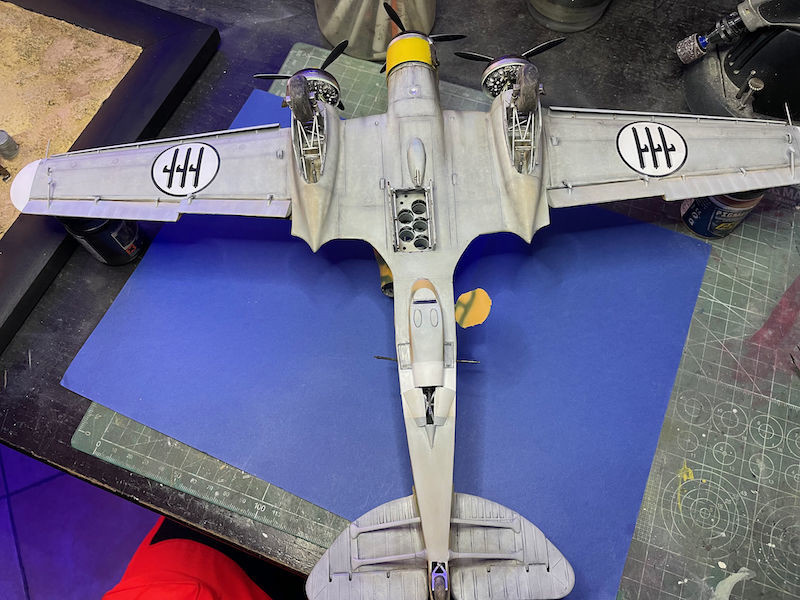
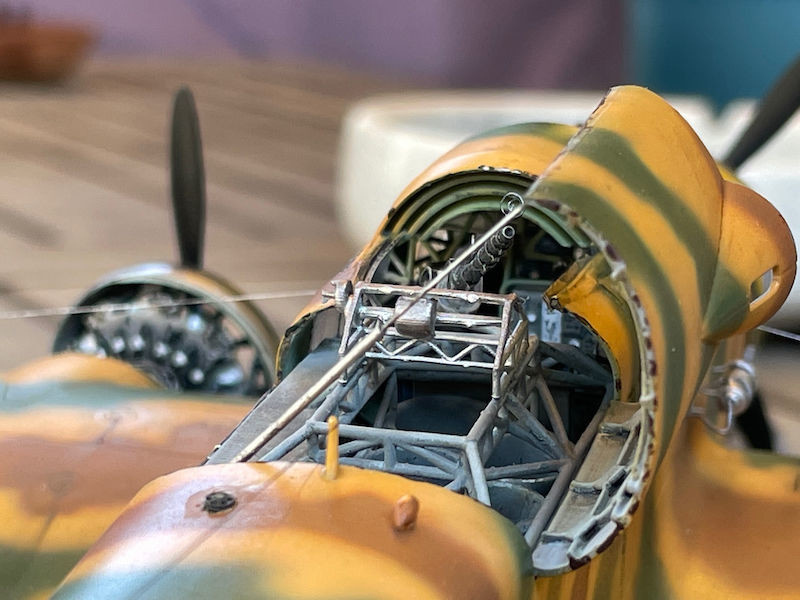
To complete everything I opened the tiles of the machine gunner's position, the upper bomb compartment, the entrance door for the crew and the side windows for the weapons in the fuselage.

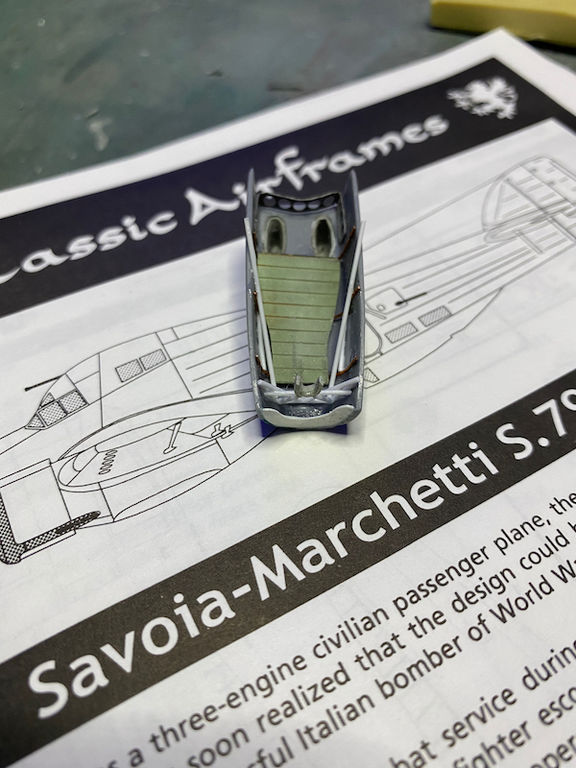
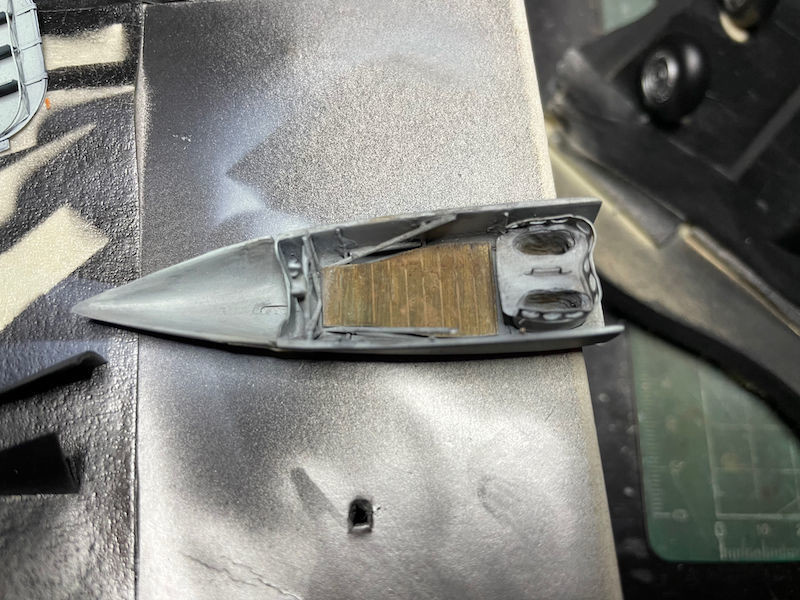
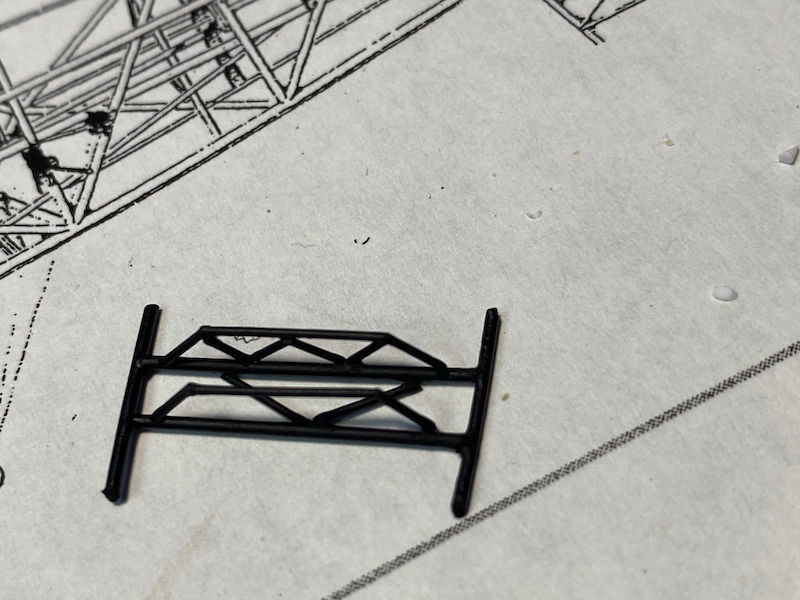
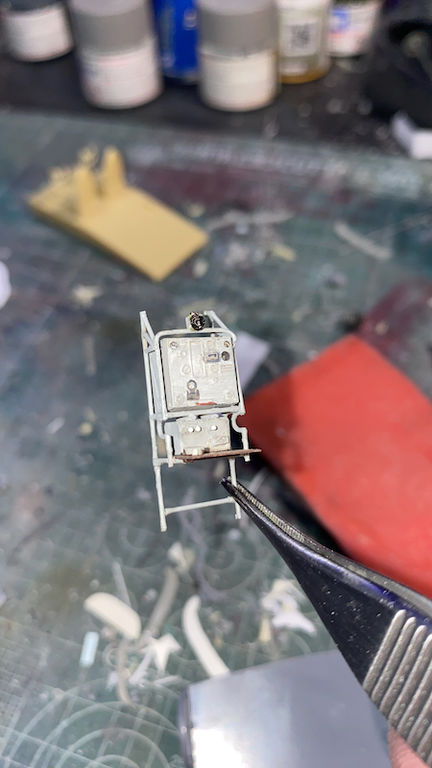
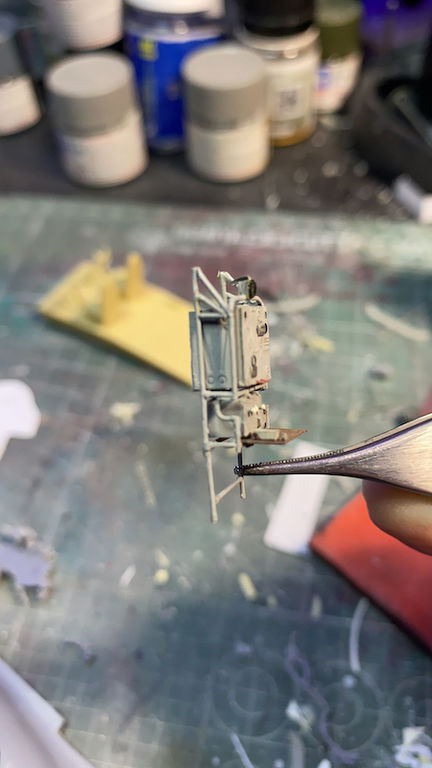
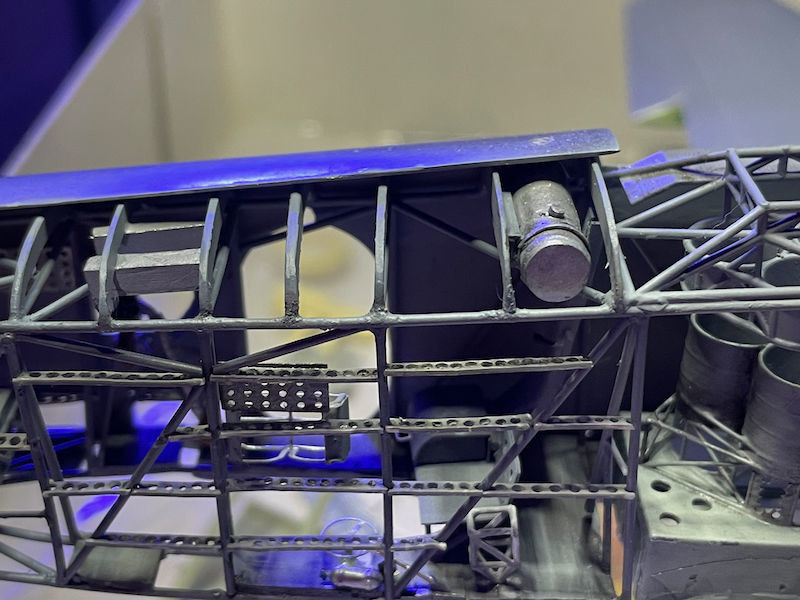
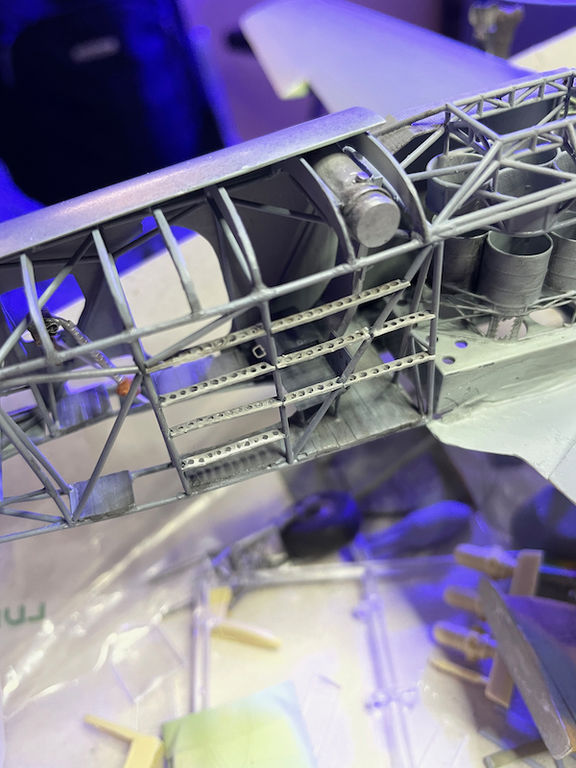
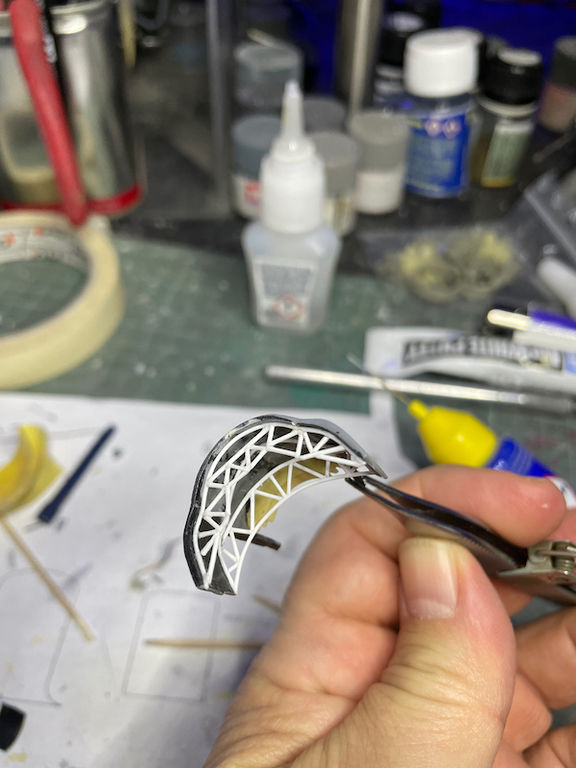
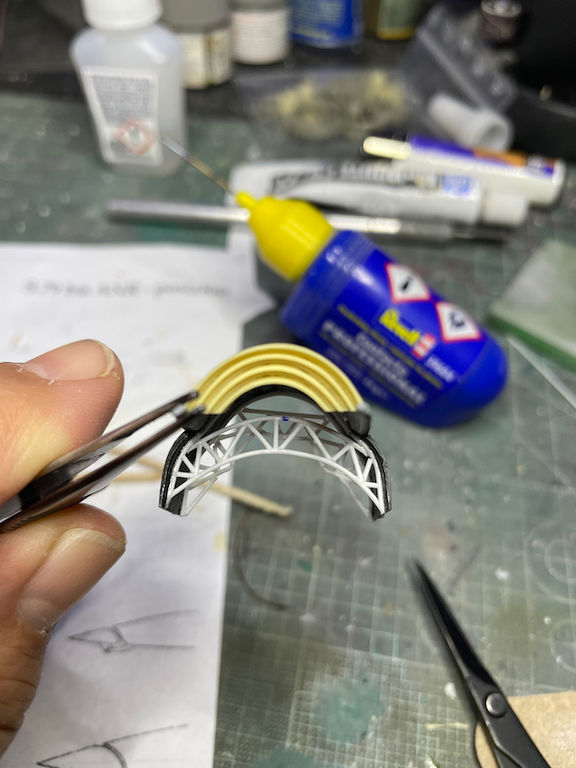
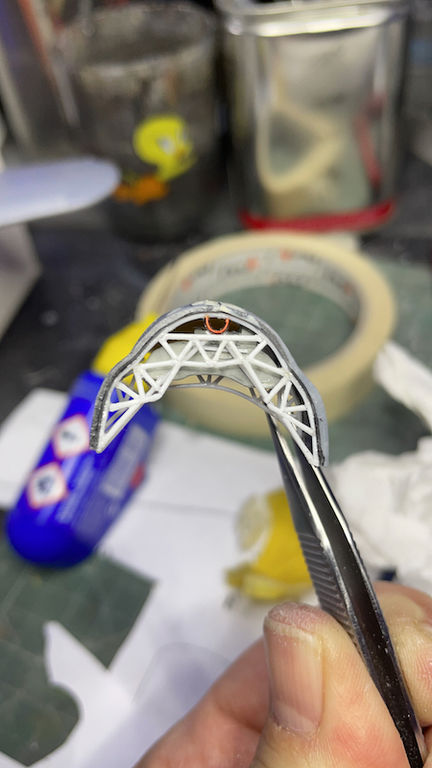
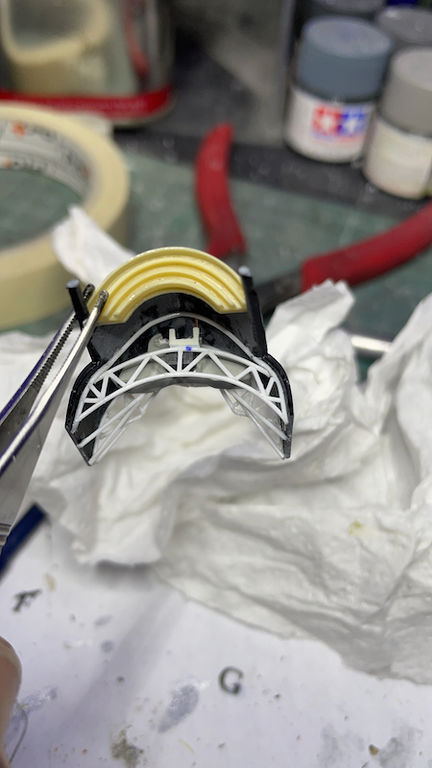
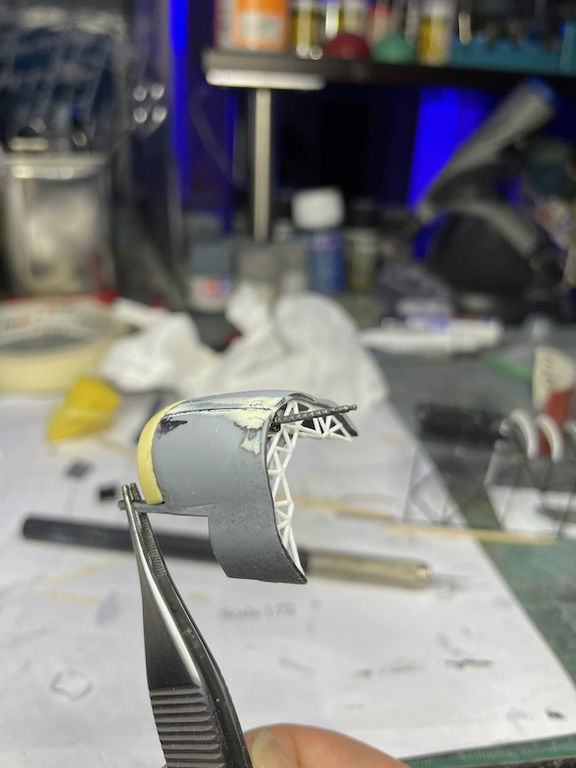
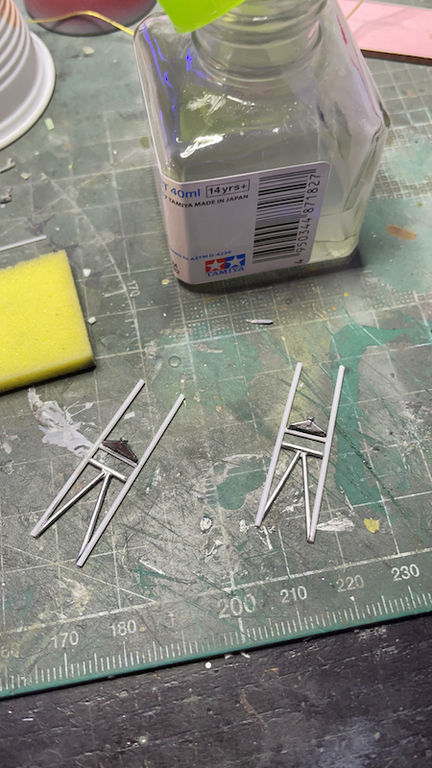
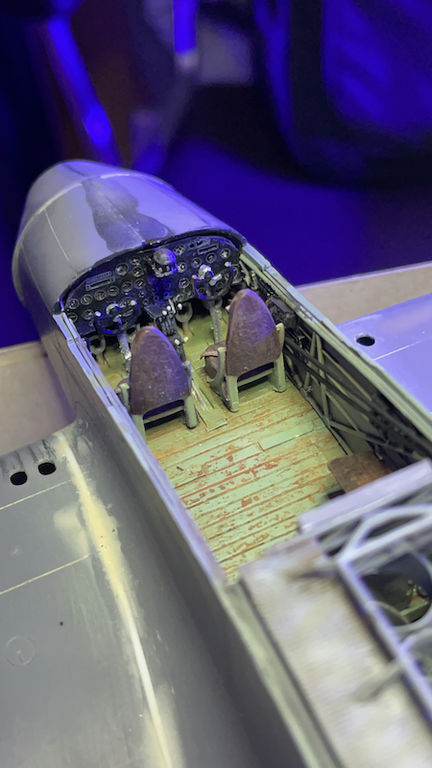
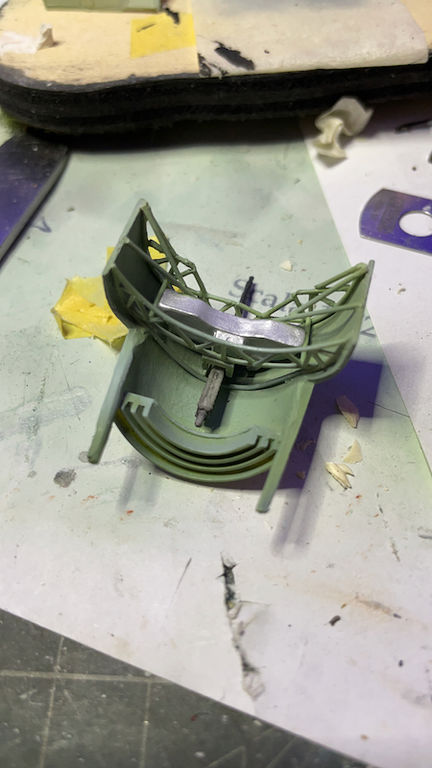
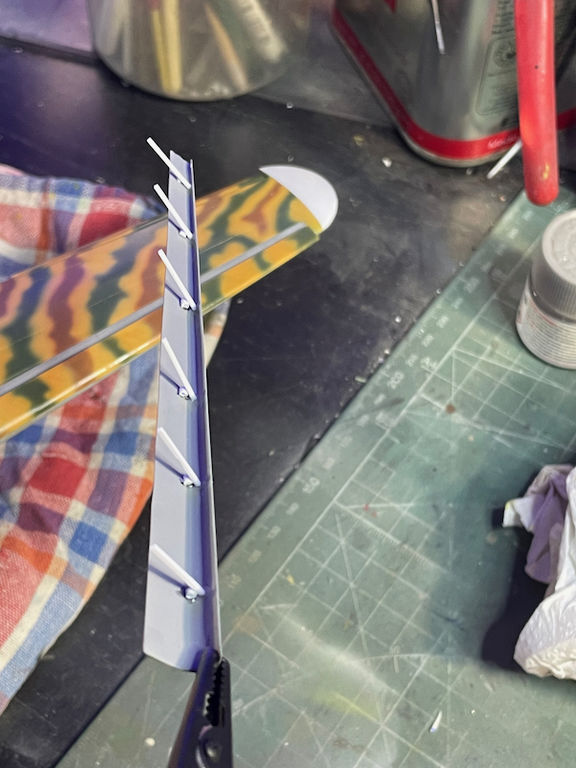
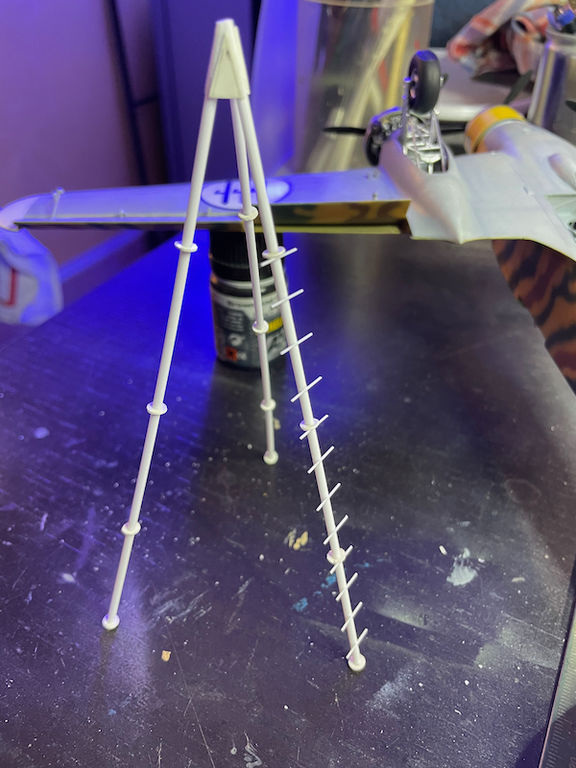
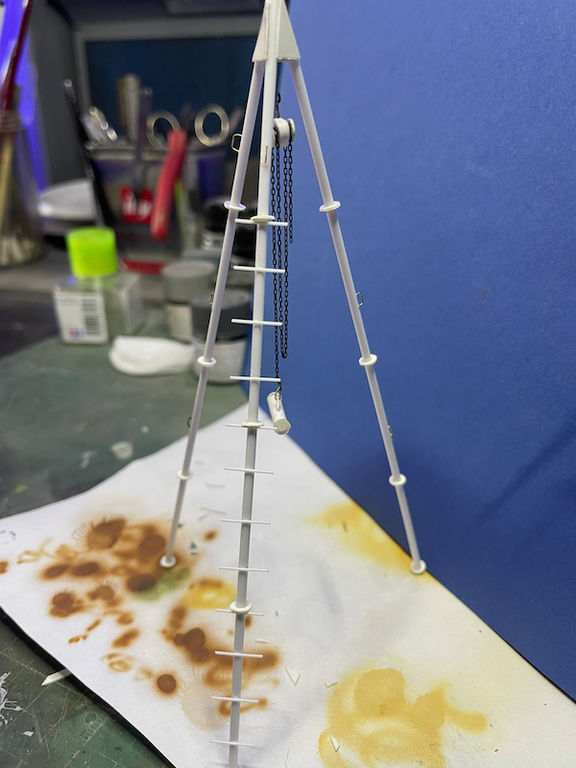
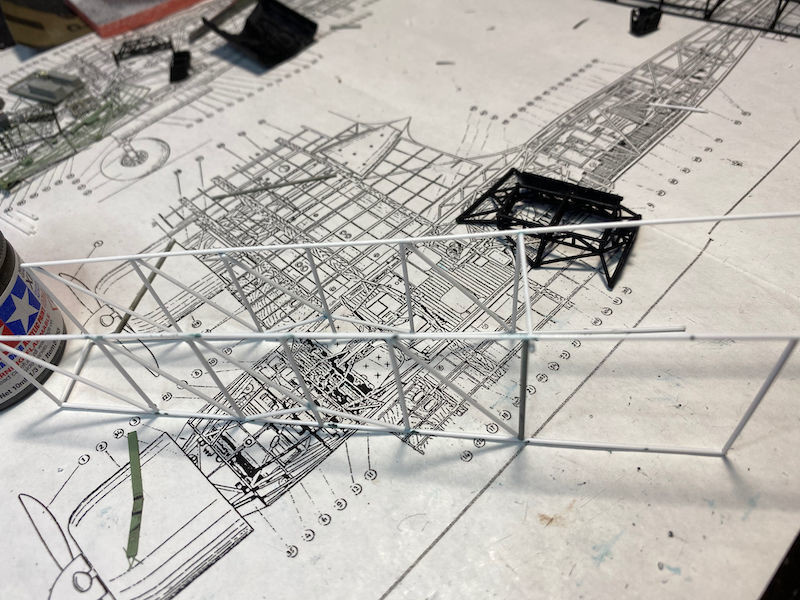
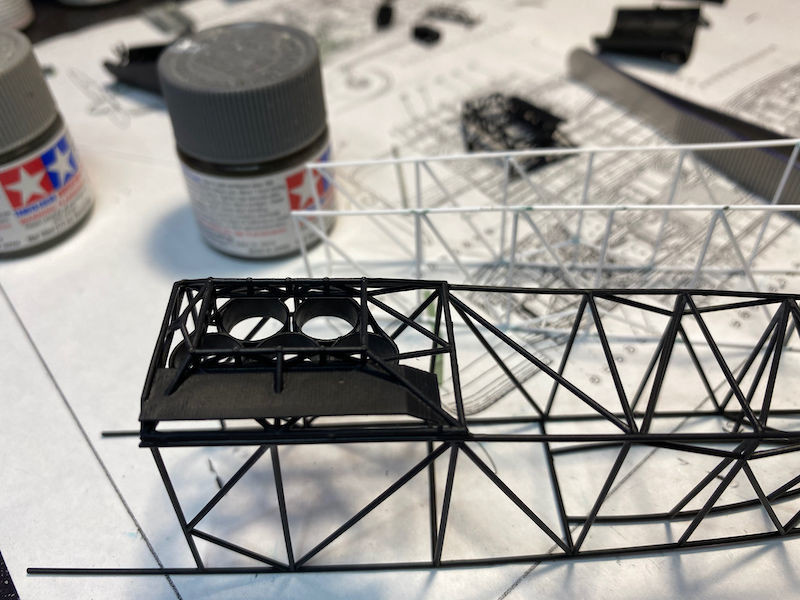
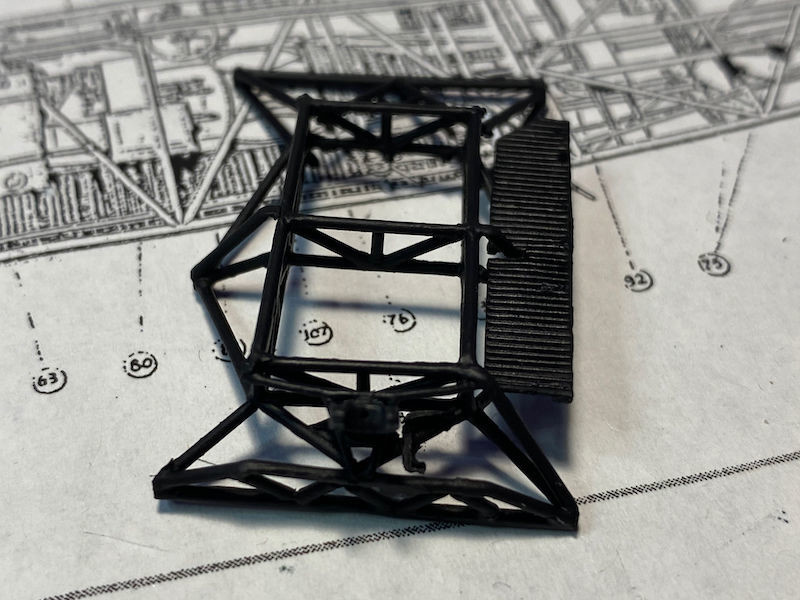
using the scale drawings I proceeded to build all the internal bones and the upper structure
ok enough for now ....stay tuned!